
Bluristic- understanding capture modes
All previous articles and images exploring the Bluristic app have focused on a single mode - Blend mode. This was intentional, allowing me to limit the scope of experimentation while building an initial understanding of what the app has to offer. At that stage, my goal was to push the app beyond its intended use; working in relatively uncharted territory, it made sense to minimize the number of variables involved.
Now that this initial phase of testing has come to a close, I’ve begun exploring the app in greater depth - examining how the various modes compare and what each offers individually.
Bluristic mode functionailty
The Bluristic app provides several capture modes, which can be toggled using the A/N/B button located at the lower right of the screen. Images are captured by selecting the desired mode and pressing the active camera button. This assumes the action is set to Camera mode rather than Track Afterwards (which is represented by a movie camera icon).
The impact of the tracking point setting remains significant, but falls outside the scope of this general discussion.
B - Blend mode
In Blend mode, the app averages the tonal values of pixels as they accumulate in the buffer over the duration of the exposure. Disregarding any influence imposed by the tracking option, the results tend to align closely with those produced by other long exposure applications on mobile devices.
A- Additive mode
In Additive mode, each incoming frame is compared to the existing buffer. Pixels that are brighter than those already present will replace them, resulting in an overall brighter image.
N- Negative Mode
Negative mode operates in the opposite manner to Additive. Here, incoming darker pixels replace their brighter counterparts in the buffer, producing a darker, more subdued, and often moodier result.
Bluristic mode results
Now that we are aware of how each mode operates, let’s discuss the results from each.
As noted in earlier posts, Blend mode (B) produces relatively forgiving and predictable results. With the influence of the tracking feature set aside, it performs in a way that is broadly comparable to other long exposure applications.
Additive (A) and Negative (N) modes, however, introduce a greater level of complexity. In more static environments, results may be easier to control - if the camera remains still, only movement within the frame is affected. In my own work, however, where both camera and subject are often in motion, the cumulative effect of these modes can quickly dominate the image.
In both Additive and Negative modes, a more considered exposure strategy is required to produce consistent and usable results. This comes down to developing an awareness of how each mode responds and adjusting exposure times accordingly - typically by keeping exposures shorter to retain control over the final image.
B - Blend mode
Blend mode produces results typical of long exposure applications, achieved by synthesizing a large number of individual frames. The following examples illustrate this behavior in practice:
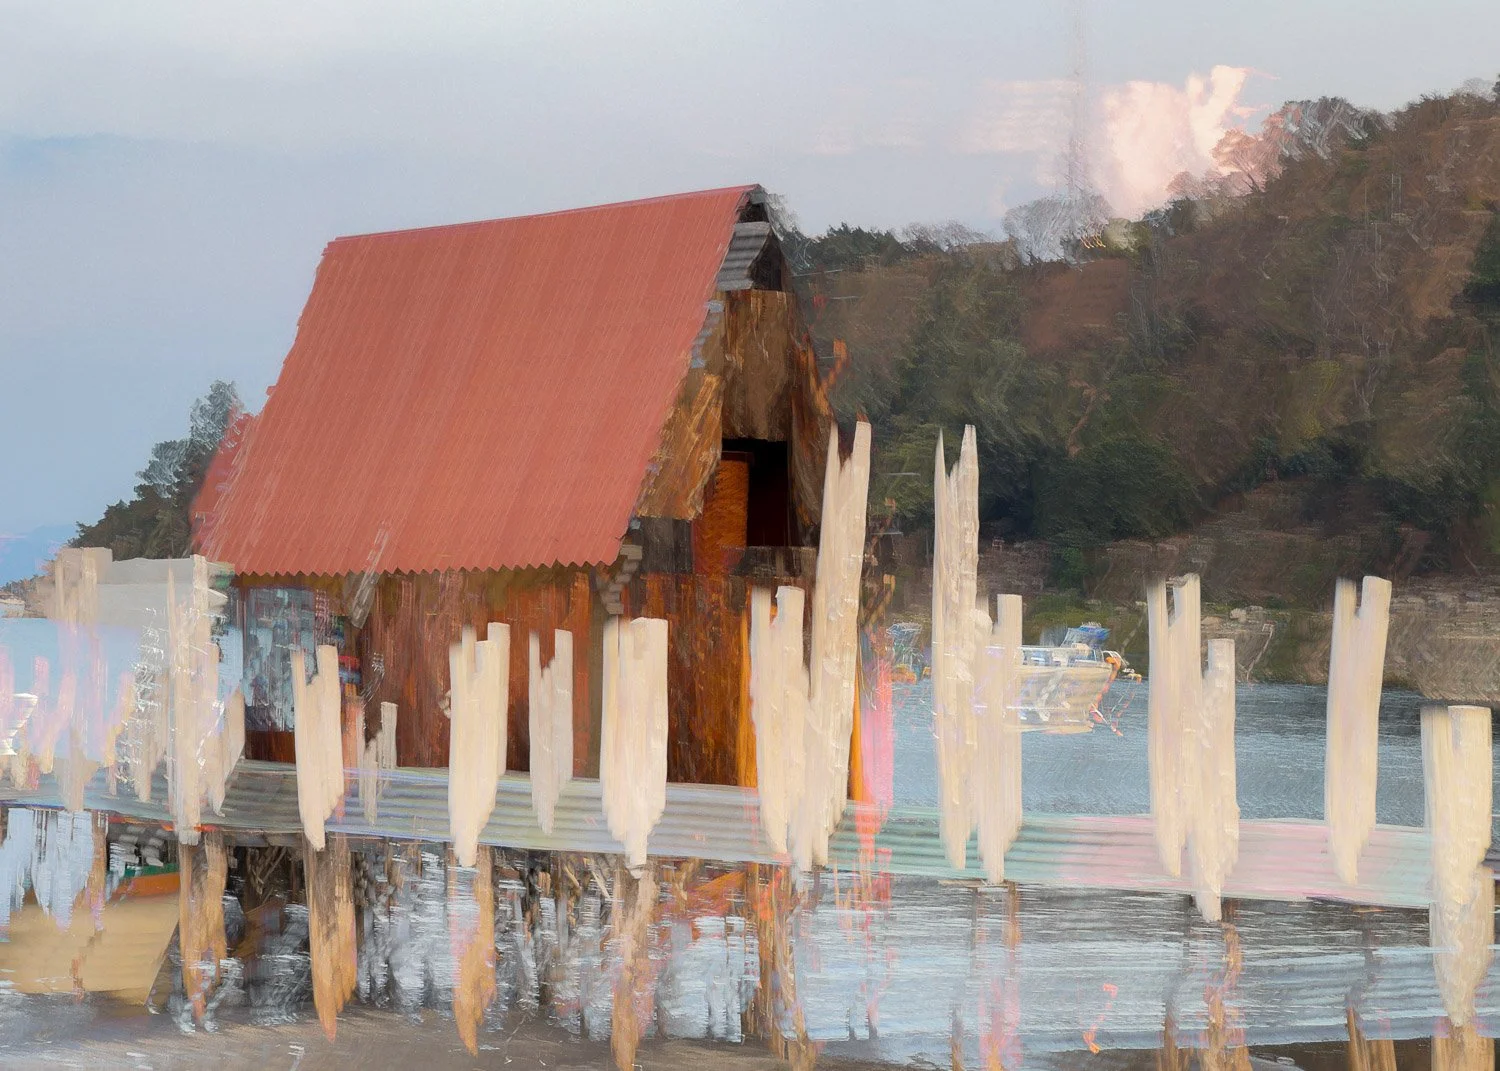
A - Additive mode
With its preference for brighter pixels, Additive mode tends to produce images that are noticeably brighter overall, with subject matter quickly becoming overwhelmed if not carefully controlled.
During longer exposures, it is easy for detail to be lost as areas of contrast are progressively overwritten by light. This becomes particularly apparent when subjects are in motion, where moving elements (such as limbs) can effectively disappear within the exposure.
Because brighter pixels replace darker ones, Additive mode can also introduce a subtle “slimming” effect on darker subjects within the frame, as their presence is gradually reduced.
Shorter exposures in Additive mode can introduce a layer of atmosphere while retaining some structure. As exposure time increases, however, results tend to move toward abstraction, with form giving way to broader tonal blocks.
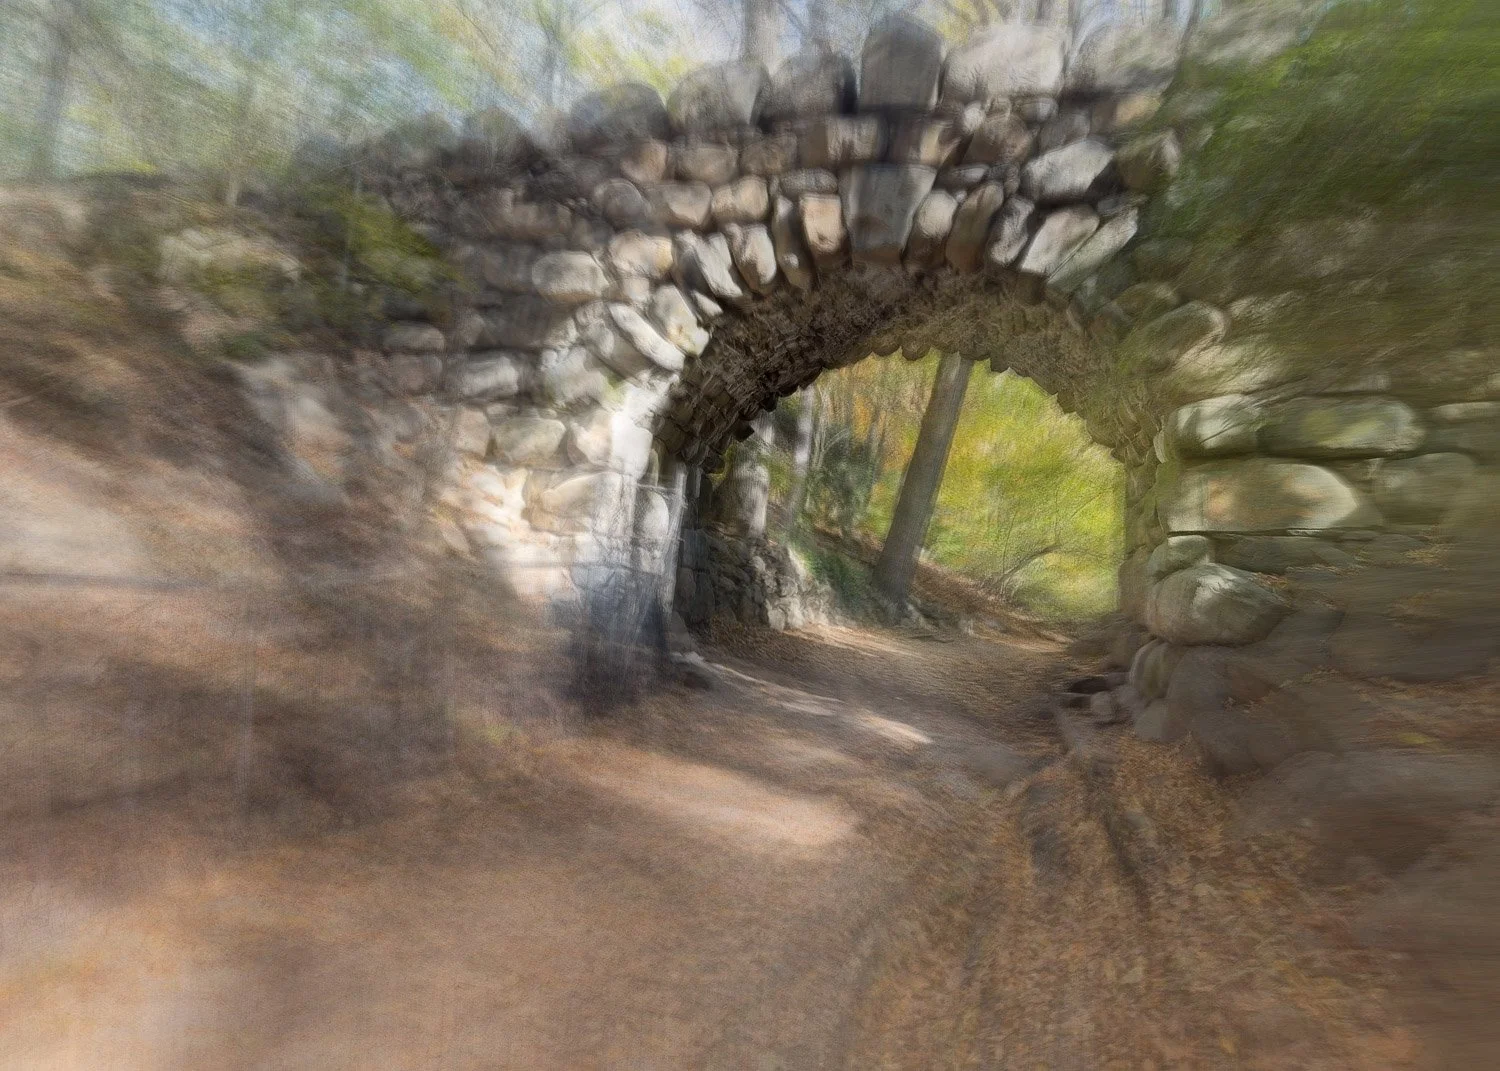
In the images below, note how detail has been diminished, leaving a more simplified, painterly appearance. With longer exposures, the scene is reduced to little more than a suggestion of what was originally in front of the lens.
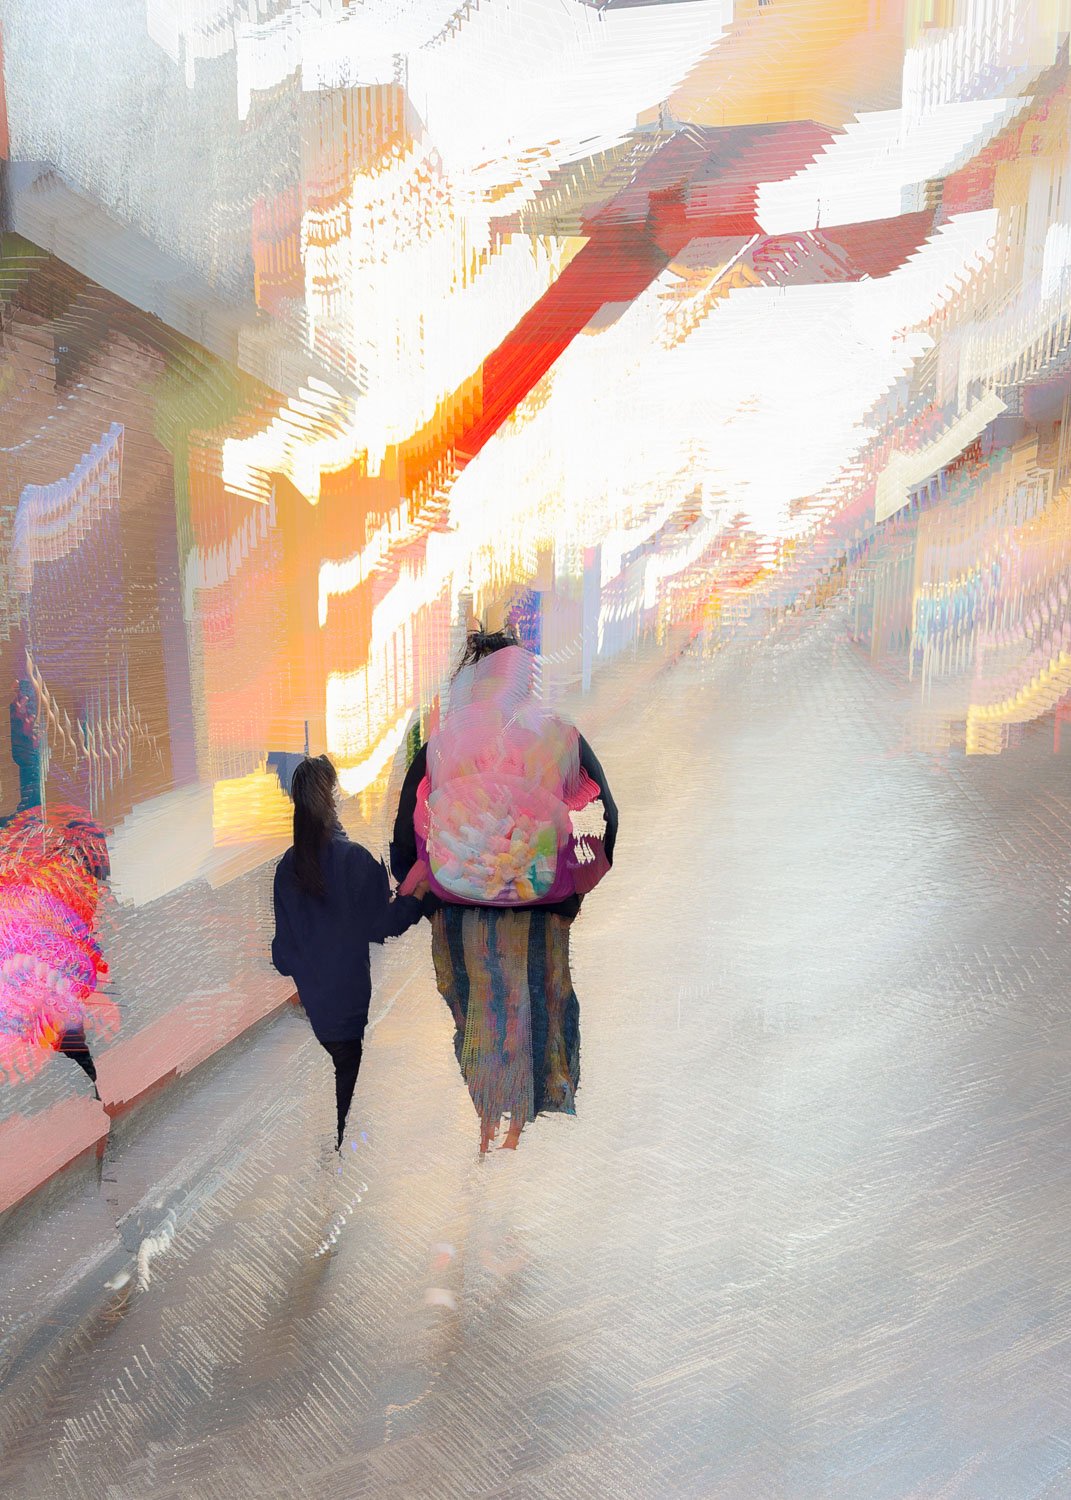
A mother and child walk a Guatemalan street. Note how detail has been diminished, leaving what is little more than a suggestion of the scene
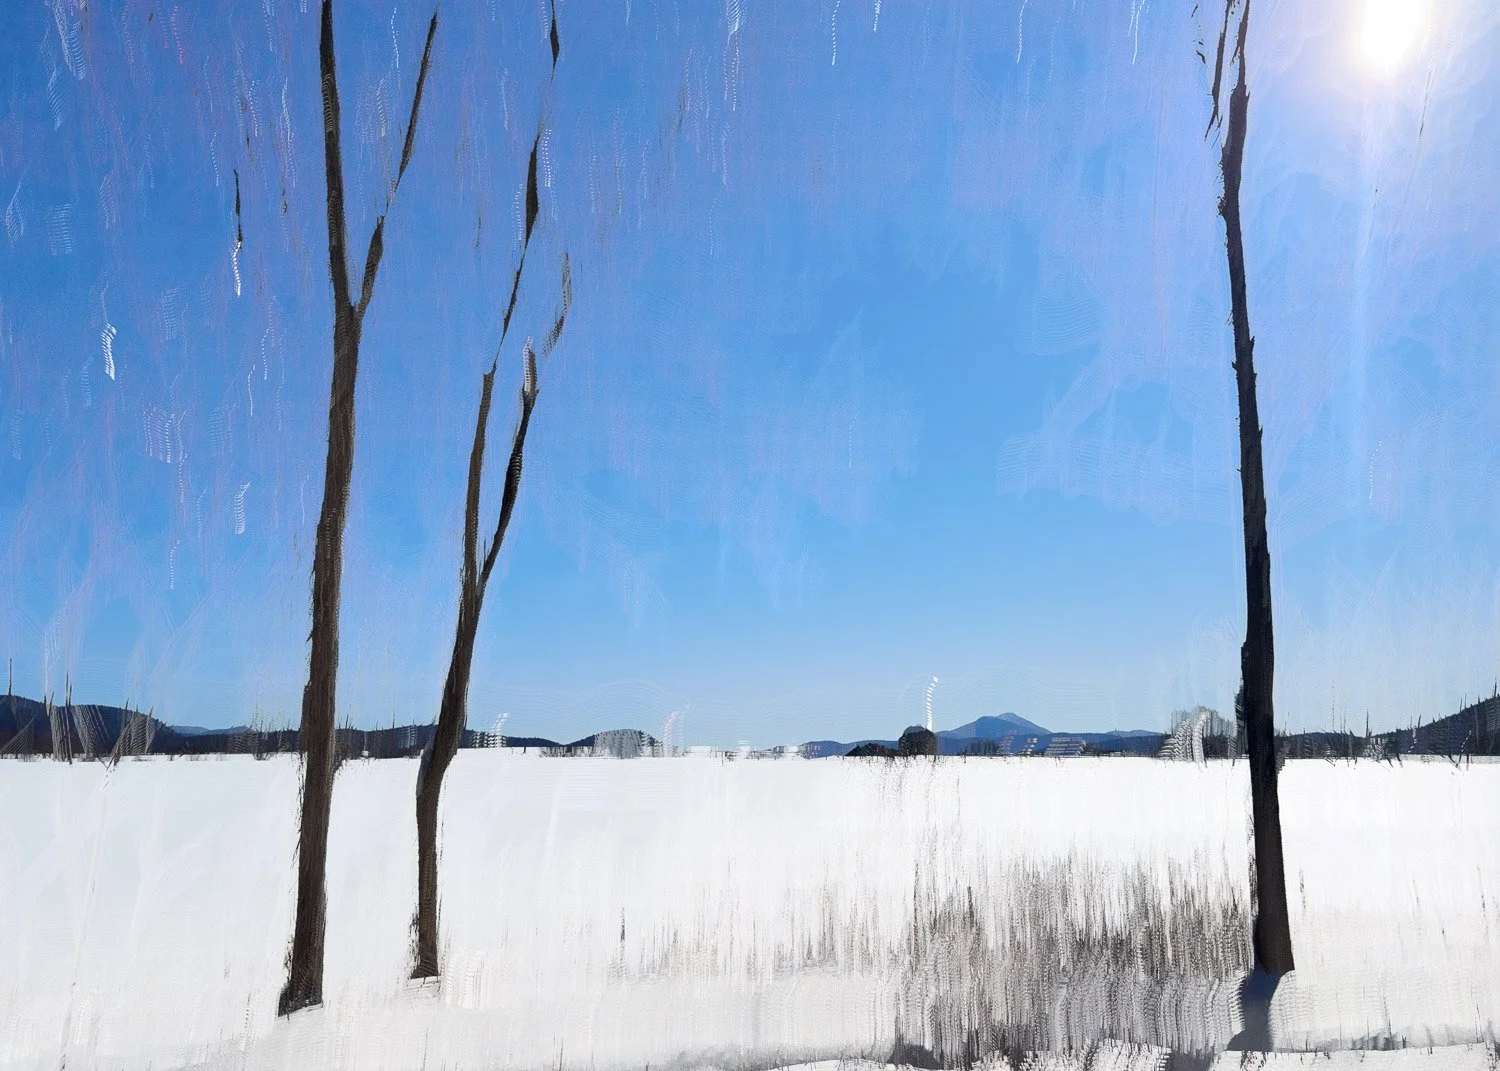
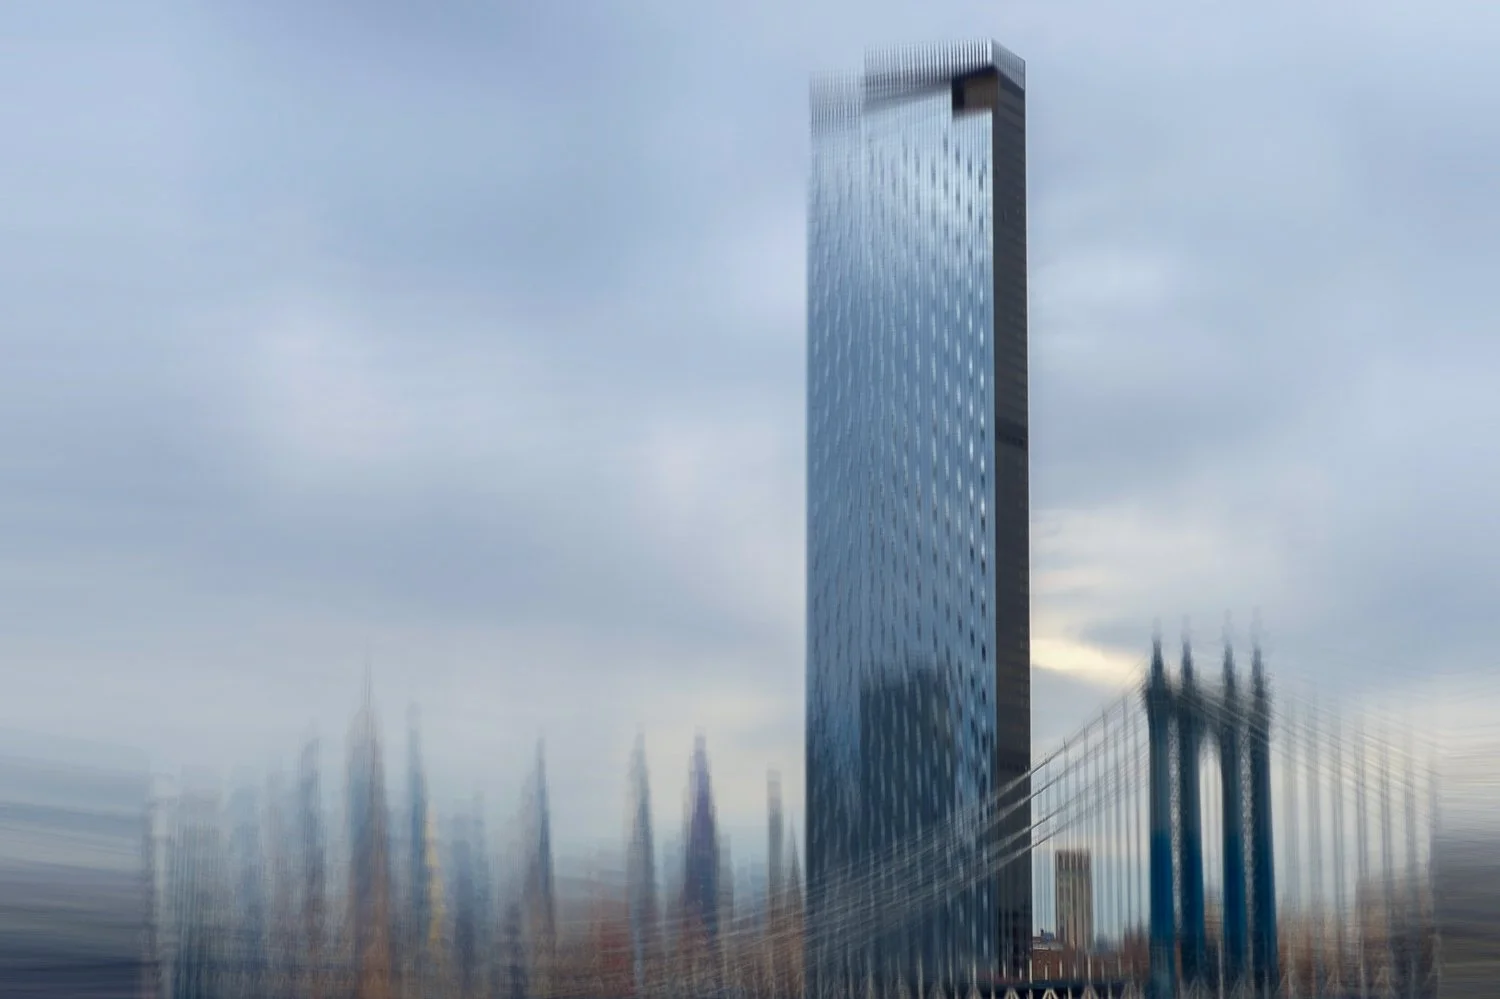
With so much of this image relating to bright snow or sky, minor details within are essentially ‘painted’ over as the camera moves. This leads to a more abstract and minimalistic-looking outcome.
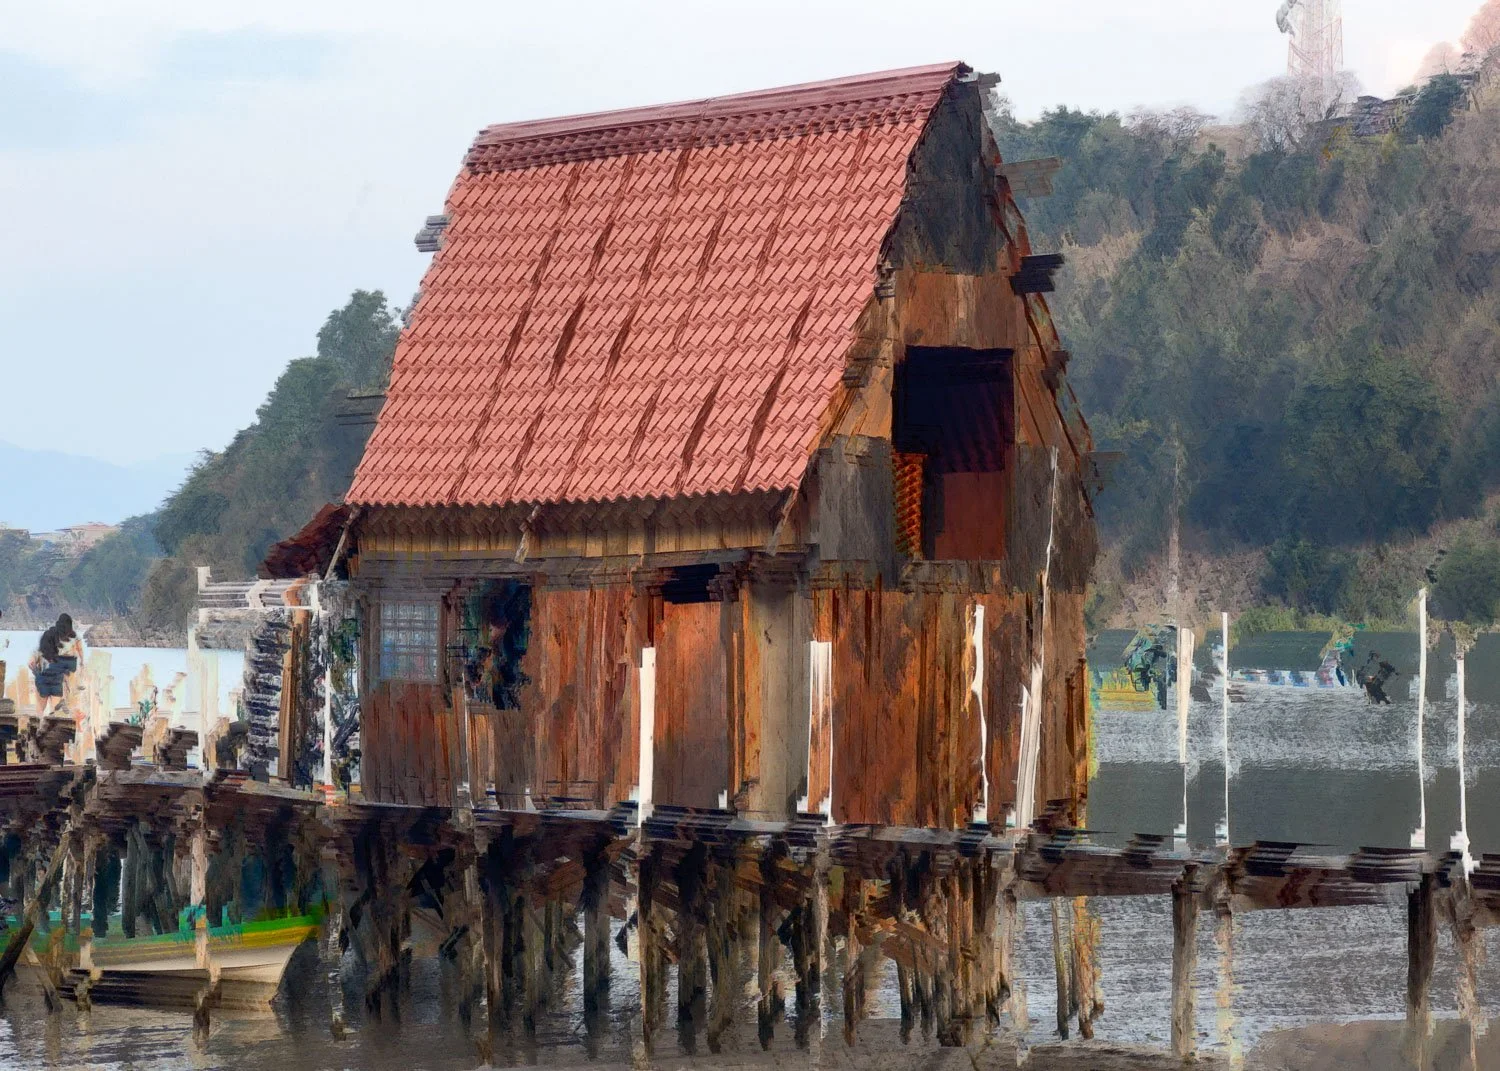
N - Negative mode
Negative mode operates in the opposite manner to Additive mode, favoring darker pixels over lighter ones. As a result, images tend to be noticeably darker and more atmospheric in character. As with Additive mode subject matter can quickly become overwhelmed if exposure is not carefully controlled.
In practice, I’ve found that successful results in N-mode rely on shorter exposure times. This helps retain structure within the image, with additional detail recovered later by lifting the blacks and shadows.
Where Additive mode can create a slimming effect on darker subjects, Negative mode has the opposite tendency. Darker elements can appear to expand within the frame, especially when in motion, leading to a subtle widening effect.
Unlike Additive mode, Negative mode often emphasises stronger lines of contrast. This can help preserve detail and maintain a clearer sense of form, even as the image moves toward abstraction.
The examples below illustrate how these characteristics influence the final result.

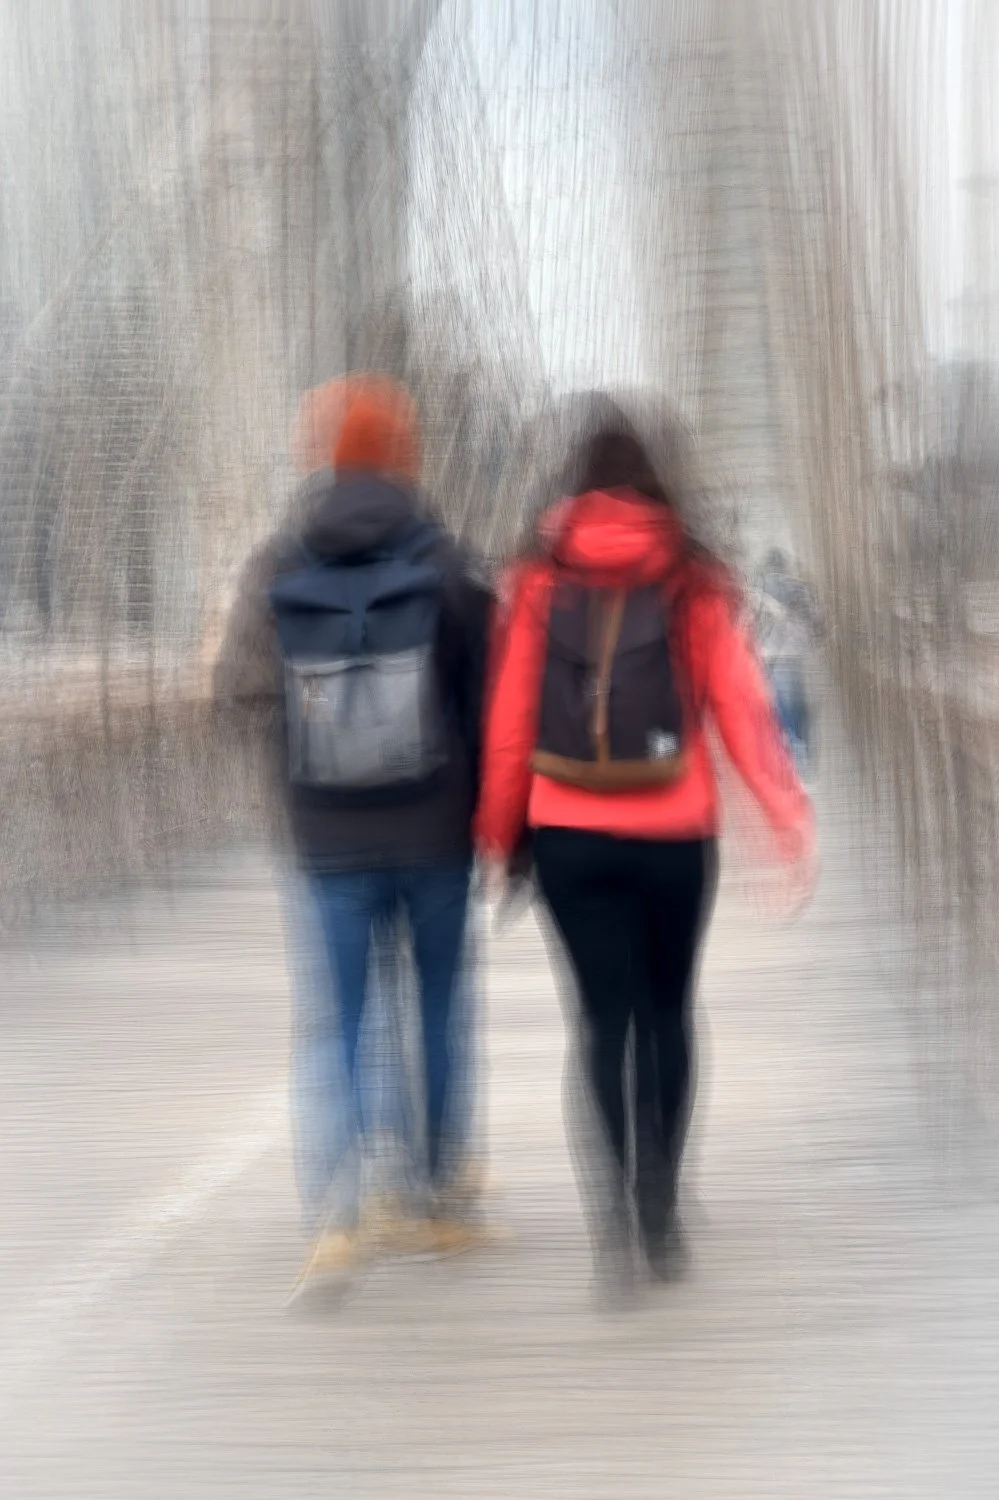
A typical Bluristic N-mode image. Note the strong, block nature of the trees and widening effect the mode has on dark legs that are in motion
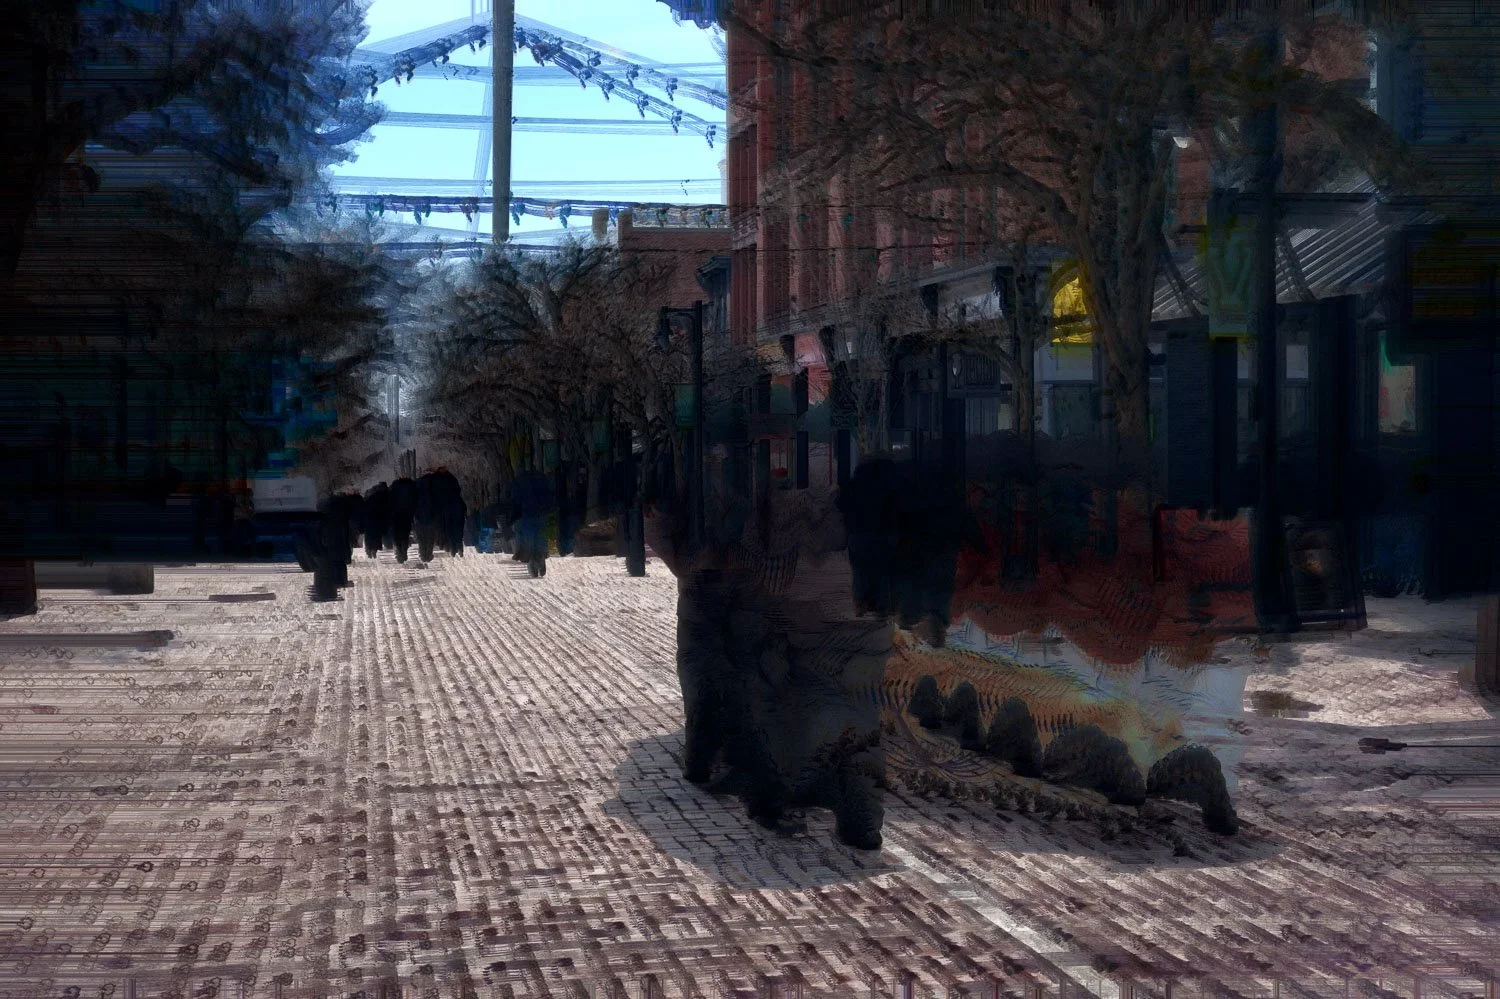
This uninspiring result is typically what might be expected from an N-mode image, but with a few adjustments an image to the following might be achieved
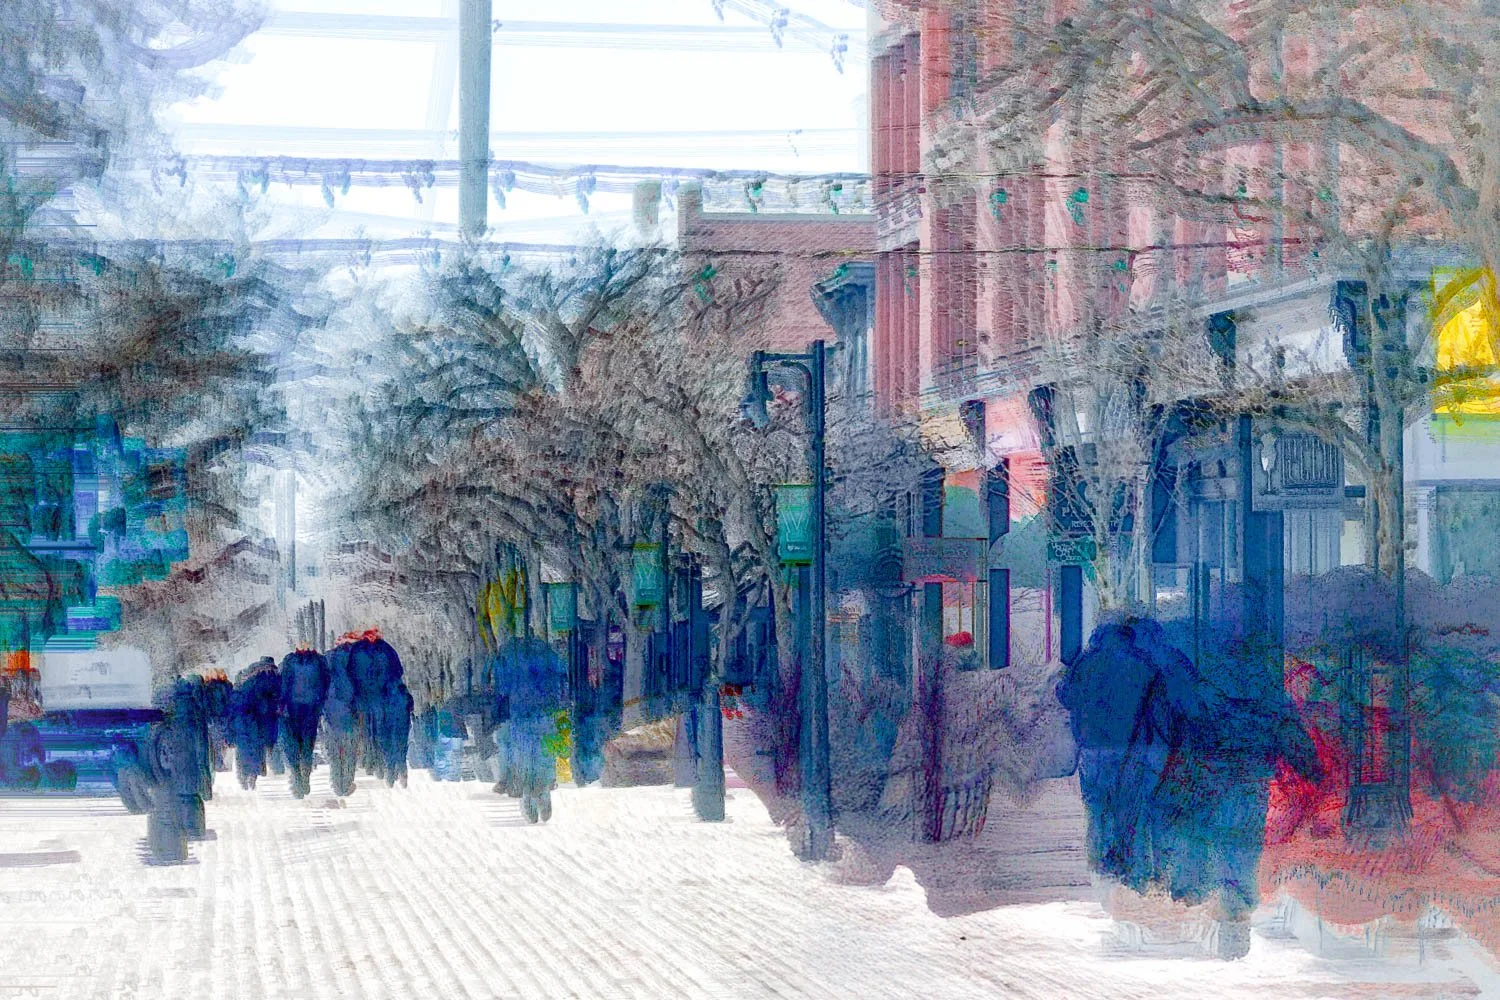
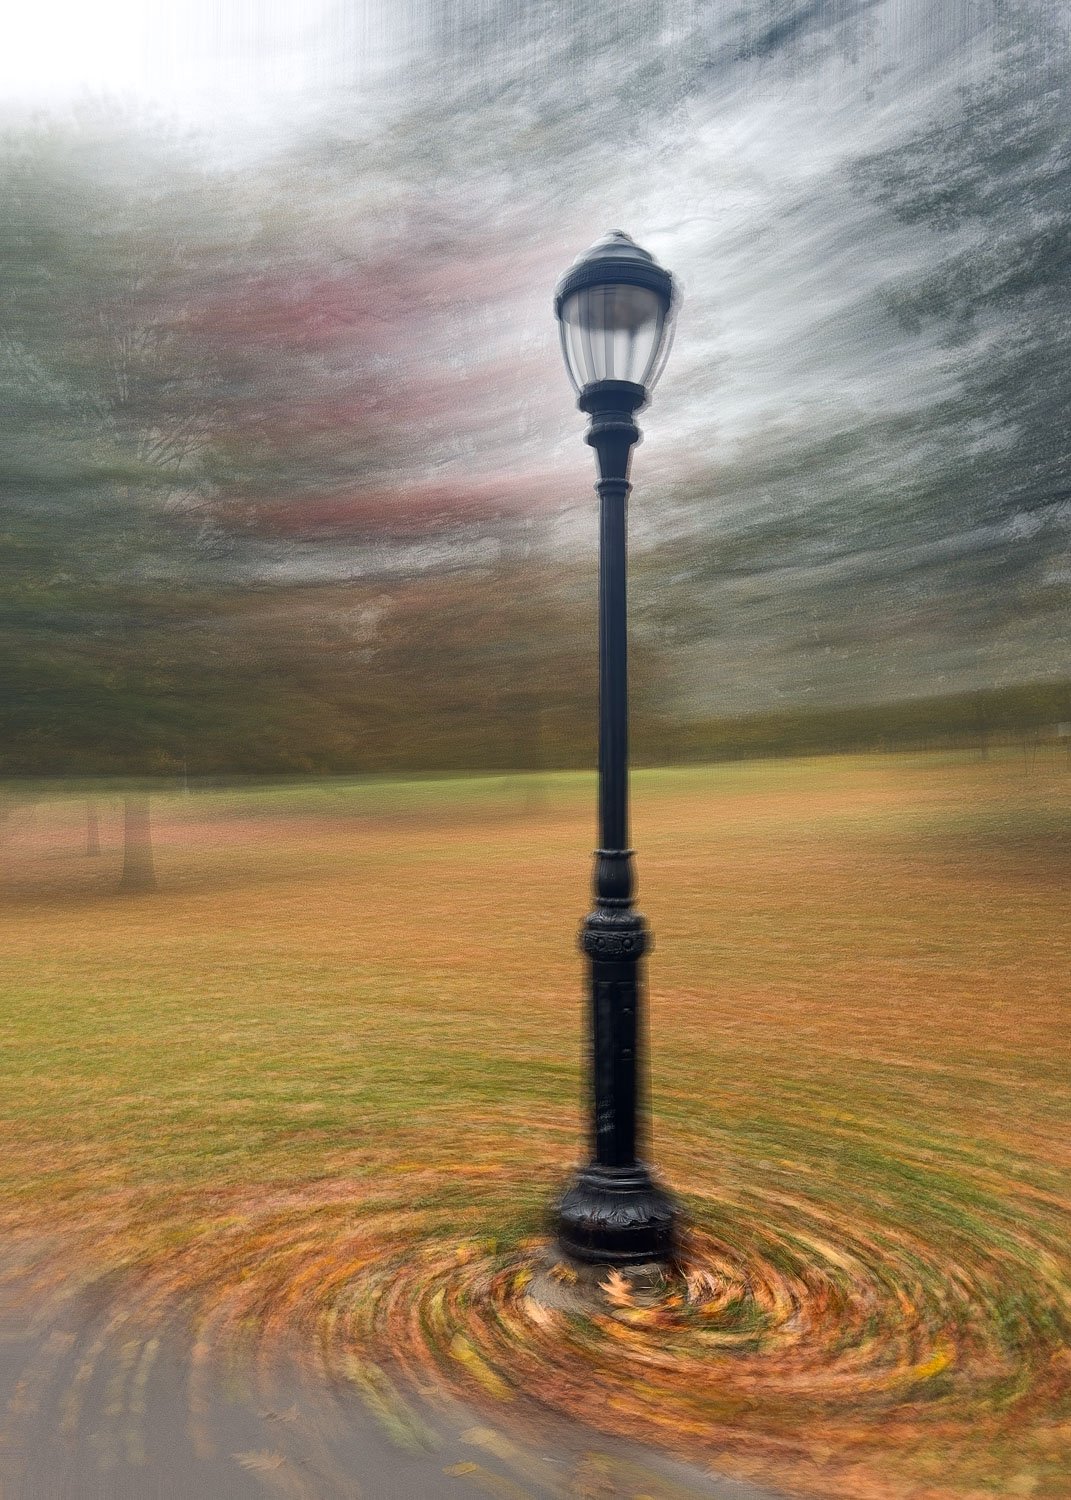
Global adjustments were made to the brightness of this street scene to bring out detail. Note the emphasis on lines of contrast and blocks of color that give this image more of a painterly feel.
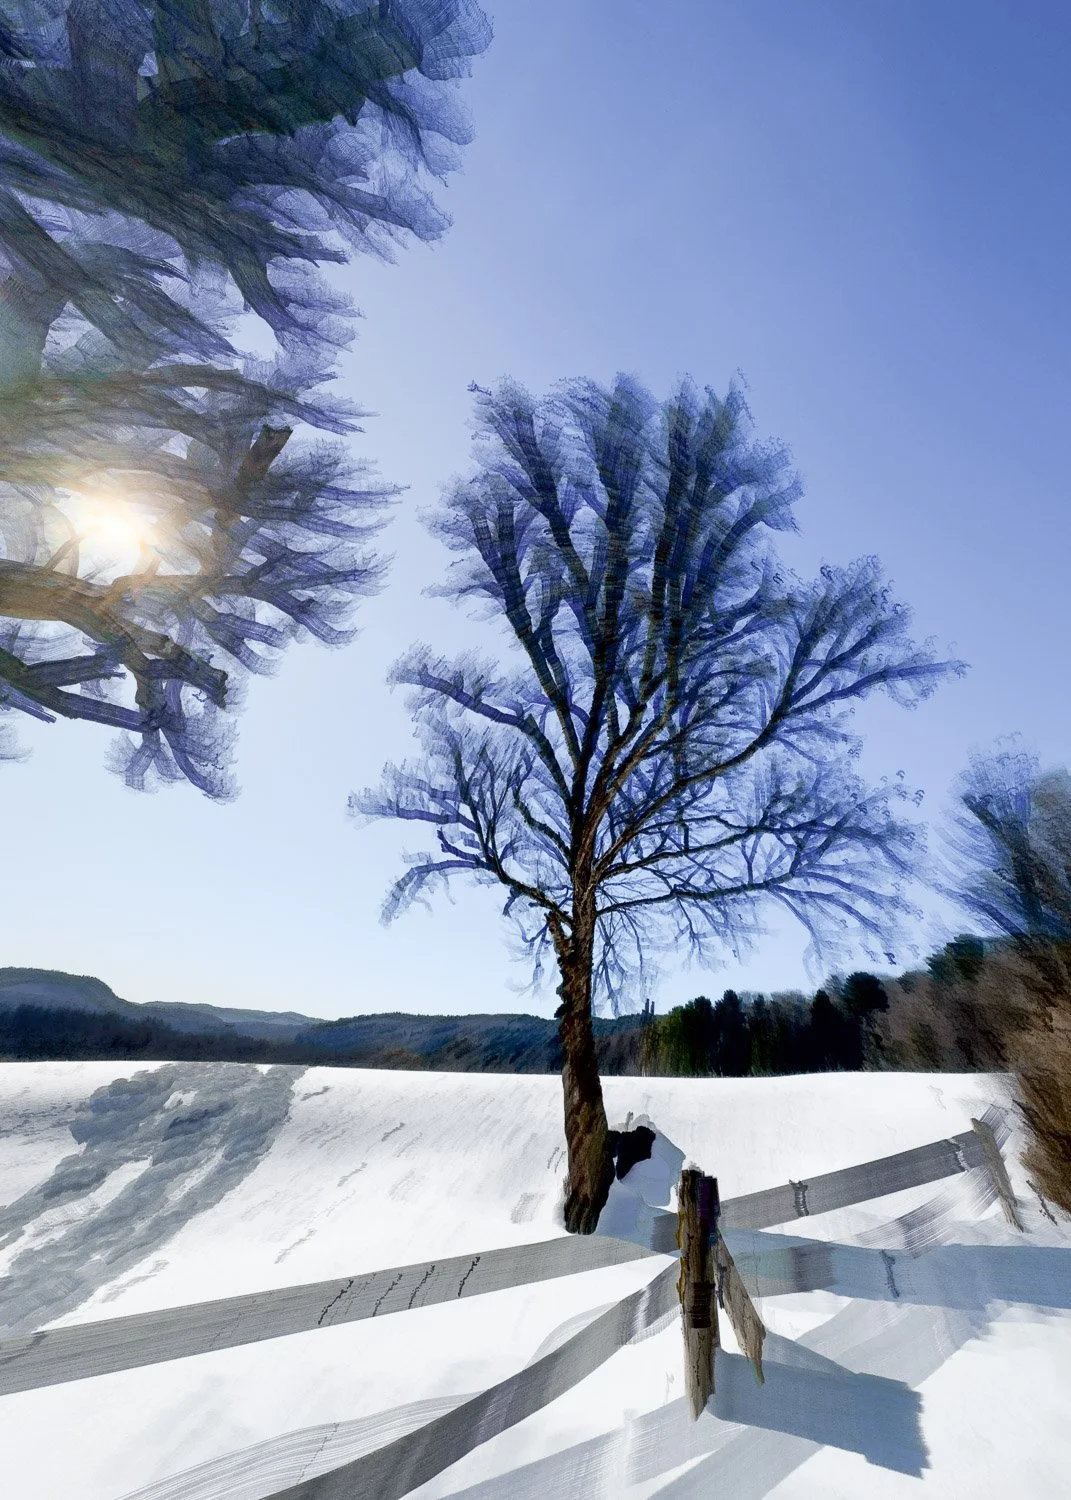
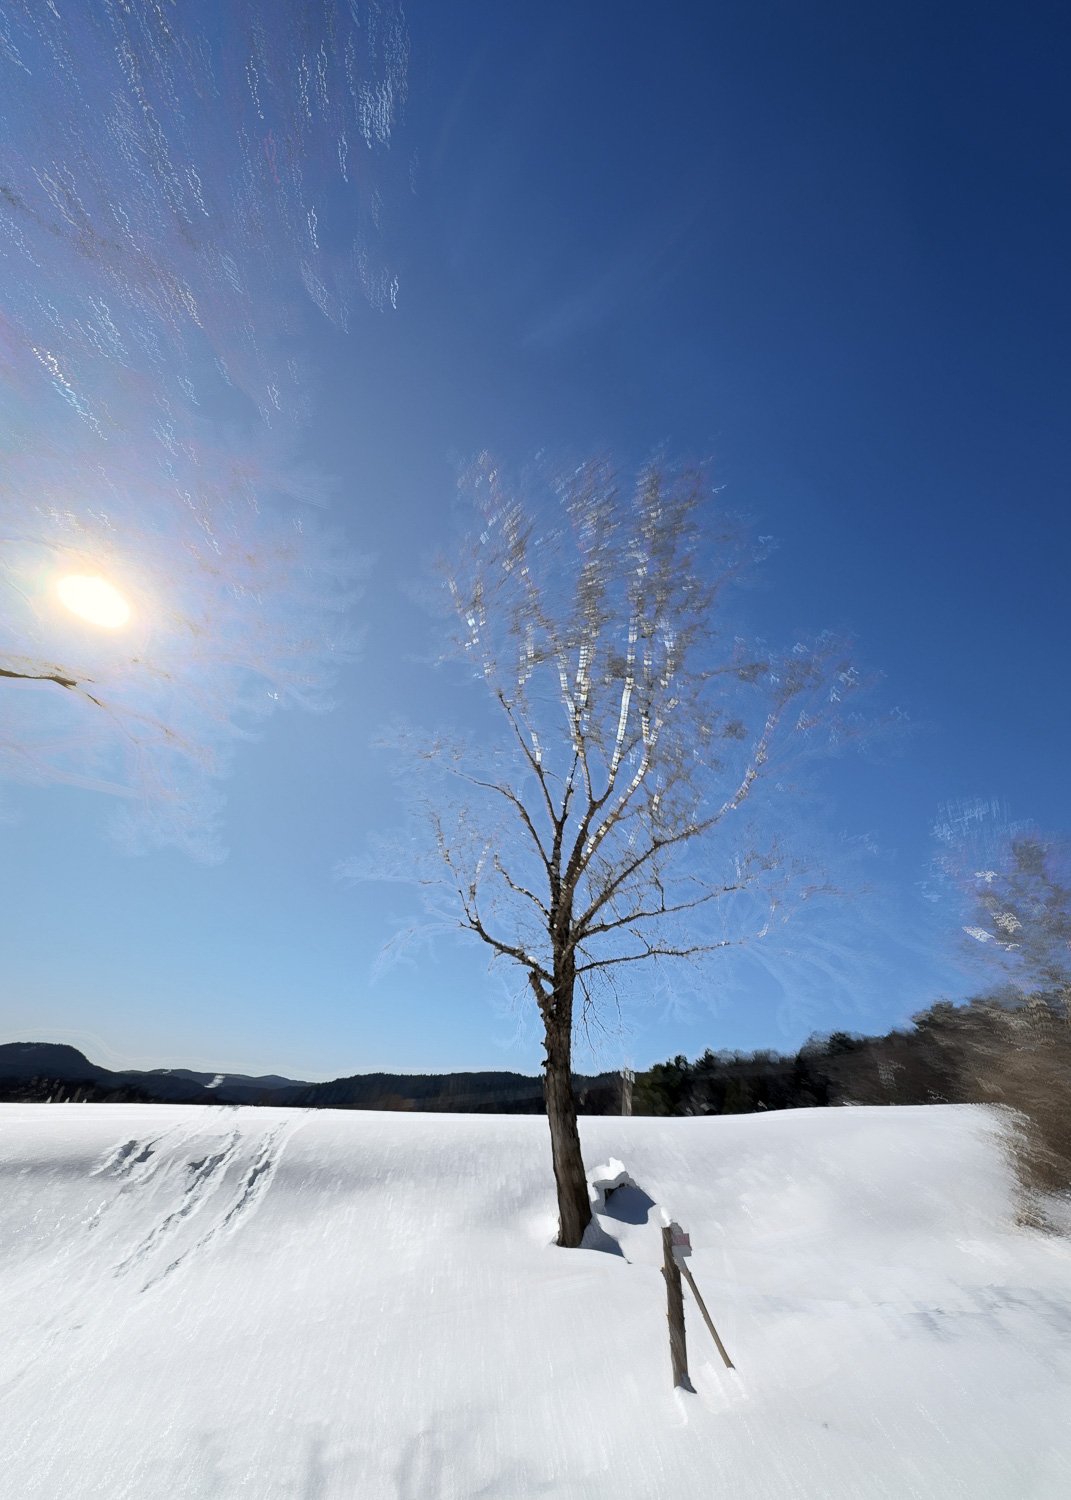
Comparisons
Having seen examples of each mode, the question naturally arises: when should each be used? While this remains an artistic decision, it can be helpful to compare how each mode responds within the same scene.
In the examples presented, Negative mode (shown first in each series) tends to produce images with greater depth and character, emphasising contrast and retaining a stronger sense of form. By comparison, the corresponding Additive mode images move toward a more minimal outcome, with detail reduced and structure simplified.
click on images to enlarge
Final thoughts
With Bluristic’s A (Additive) and N (Negative) modes often producing more overpowering results, it is easy to favour the more predictable and forgiving B (Blend) mode. However, when approached with a greater degree of control, each offers its own distinct creative opportunities.
As with most aspects of ICM, the goal is not to avoid these challenges, but to understand and work with them - using each mode to help shape both intent and outcome. The decision on which produces the best result is ultimately an individual one, guided by your preferred artistic direction.
Are you a Bluristic user, have you experimented with these modes? If so, I’d be interested to hear of your own discoveries and impressions.