
Bluristic Track Afterwards - a closer look
One of the lesser-understood features of the Bluristic app is Track Afterwards. That is probably because it is not especially well documented, and many aspects of the feature are not immediately intuitive.
After spending some time exploring this underused tool myself, I discovered it has a great deal to offer - enough to deserve a closer look here.
A quick caveat
Before diving in, it is worth noting one important point. The Track Afterwards feature is only available in the current Bluristic v1.8 version, which is only available for iOS. iPhone users should upgrade to this version if they wish to use the feature.
Also, the app developer has indicated that Track Afterwards generally produces lower-resolution results than the app’s other capture modes. That said, for the abstract and impressionistic images I tend to create, I have not noticed any obvious loss of quality in practice.
What is Track Afterwards?
The Track Afterwards feature takes a series of images when triggered in what is essentially a video-like stream. What is unique about this mode is that it allows the adjustment of key setting after a scene has been captured.
What are the benefits?
The primary shooting modes in Bluristic require settings to be chosen before capture - a process that isn't always practical when working spontaneously.
The Track Afterwards mode helps overcome these challenges and provides some distinct advantages:
Greater flexibility.
The ability to experiment without committing beforehand.
Rescue opportunities when conditions change quickly.
How does it Work?
Track after wards allows you to capture a scene and modify settings after the fact. These settings include:
Start and end time of the exposure
Capture mode (Blend, Additive, Negative, etc.)
Placement of tracking points
Once adjustments are made, the stream can be Run to generate a new image. The result can then be saved or discarded. Importantly, even after saving an image, you can return to the same stream, change the settings again, and create additional variations.
In other words,
Track Afterwards allows multiple interpretations of the same scene from a single capture.
How to use
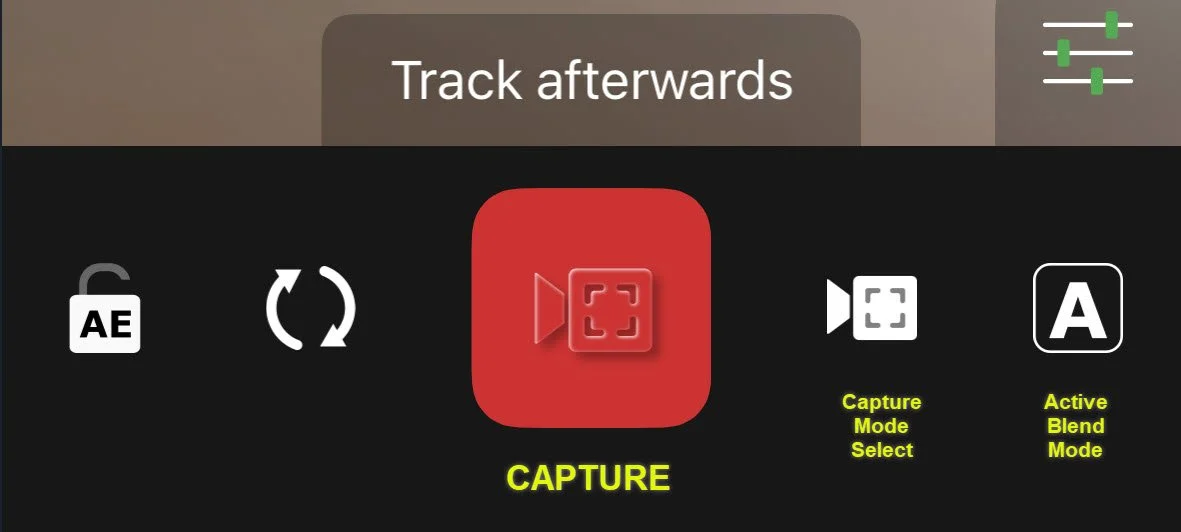
1. Select Mode & Capture
Select Track Afterwards by toggling through the capture mode button. Once active record a long exposure using the capture button.
2. Review and Adjust
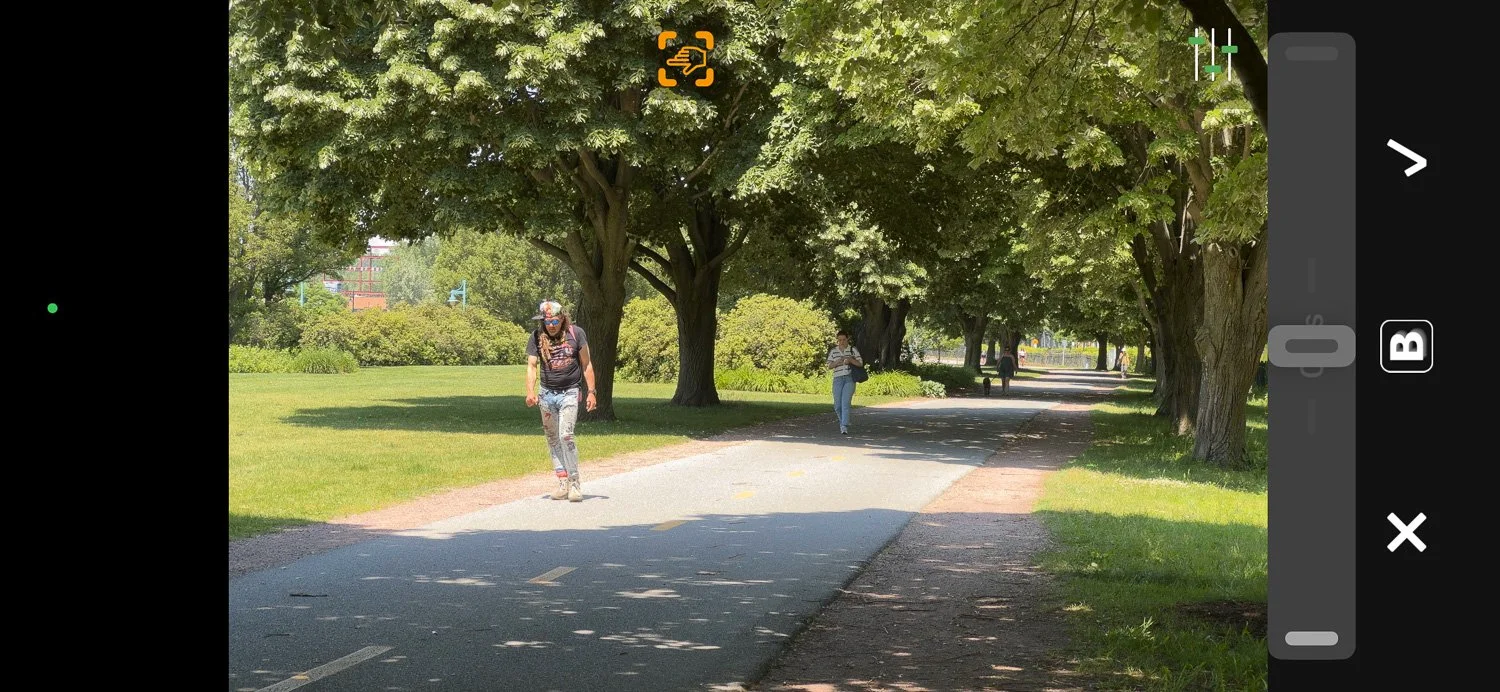
Once recording stops, several controls become active, allowing you to make adjustments and view results prior to saving. At this stage you can set tracking points, adjust timing and select blend mode. As long as the stream is not discarded all of these setting are non-destructive and can be revisited should further adjustment be needed.
The available controls are:
Run — Builds an image using the current settings. You can return later, adjust settings, and run it again as many times as needed.
Discard — Deletes the captured stream.
Start / End — Sets the beginning and end of the exposure segment you want to use.
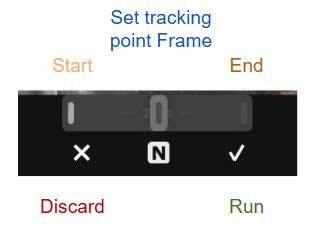
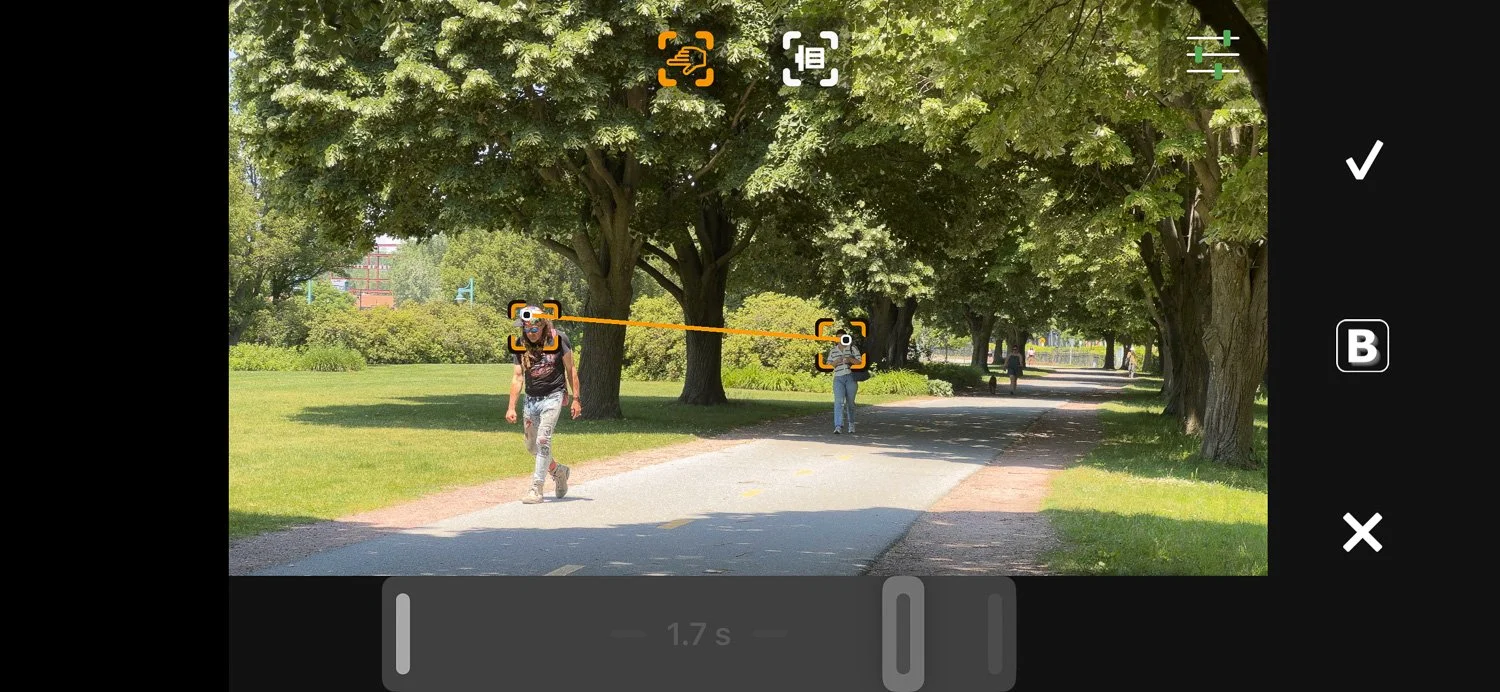
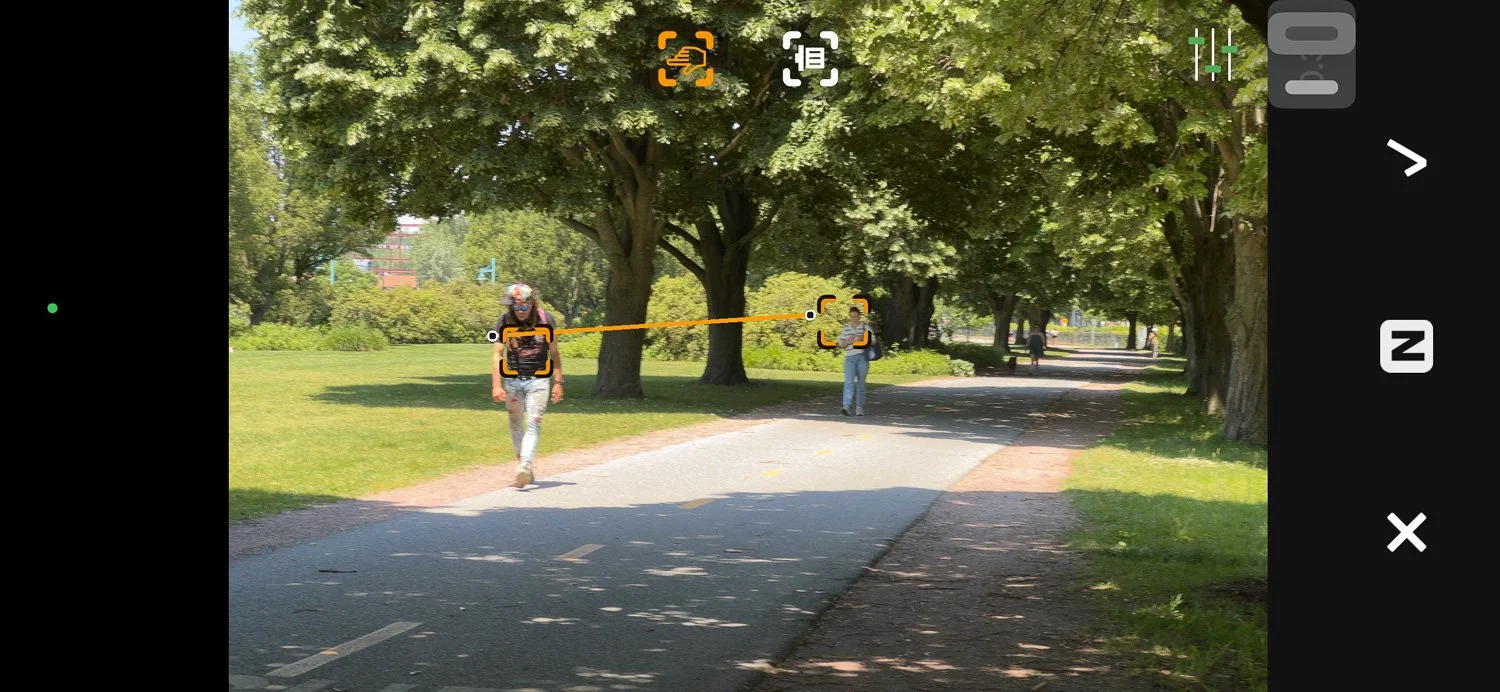
Set tracking point [0] — This timeline slider allows you to select the most appropriate frame to set tracking points. This is ideally one where the subject has strong contrast and is clearly defined, improving the chances of successful tracking.
Blend mode selector (B / N / A / Z) — Allows you to test the same capture using different rendering modes.
A particularly useful secondary benefit of the timeline slider is that it lets you scrub through the entire capture. This makes it much easier to choose the best start and end points and to check how well the tracking behaves over time.
3. Run the image
After selecting Run (check mark) an image is built using the setting just made. At this point you are presented with three options:
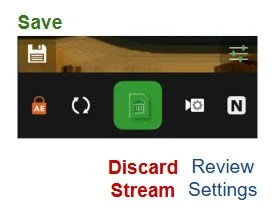
Discard — Important: this deletes the stream entirely and returns the app to capture mode for a new recording.
Save — Save the displayed result.
Review (Video Camera symbol) — Returns you to the post-capture editing screen so you can make further adjustments and generate more variations. It is worthy of note that this can be done after the result is saved should further interpretations want to be tested.
A final caution
The green Discard button can be tempting to press once you have saved an image but be careful: it deletes the original stream. Only use it when you are completely finished experimenting with that capture and are ready to move on to a new scene.
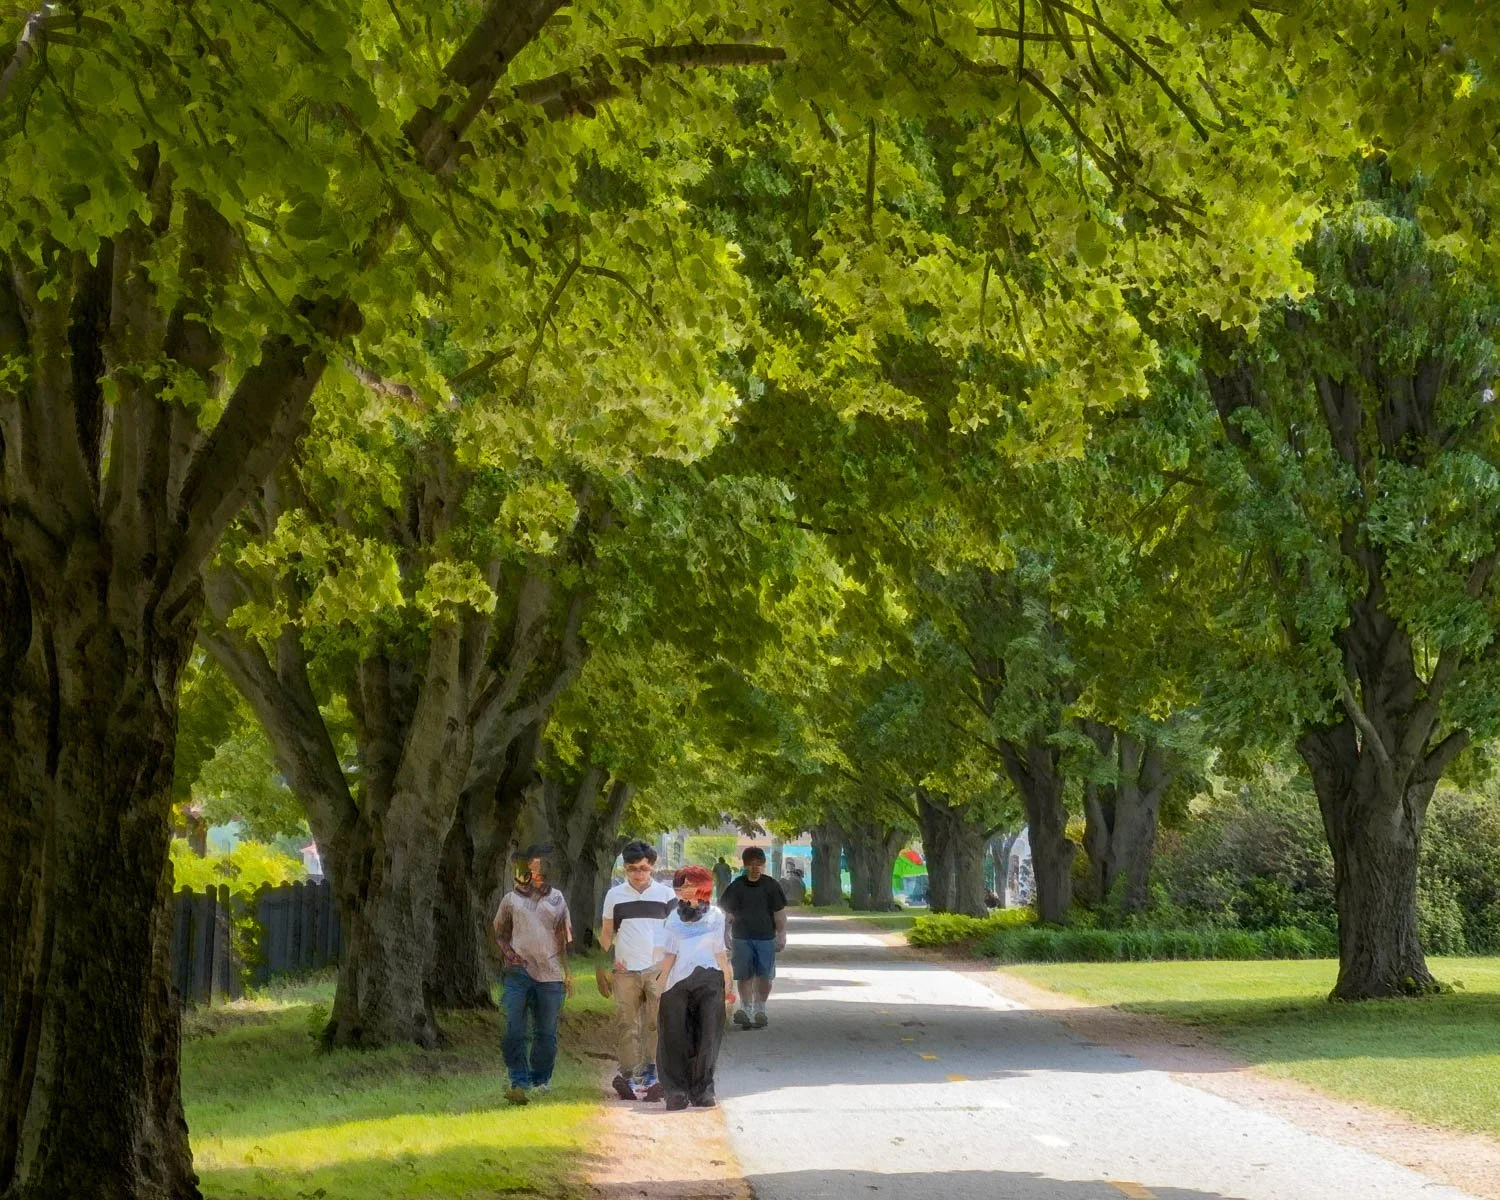
Sample operation
The following walks you though a real-life example of a capture taken using Track Afterwards, explaining some of the choices made.
These use the original and un-edited screenshots.
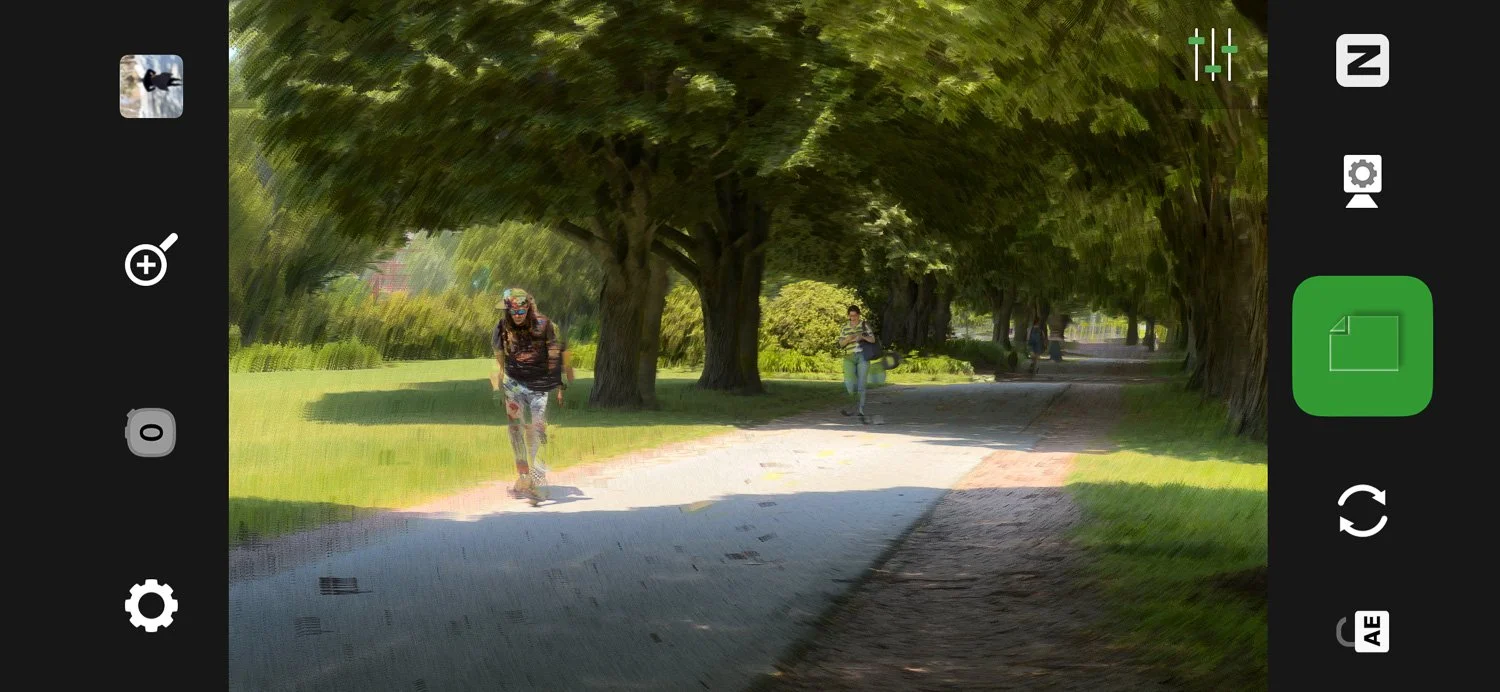
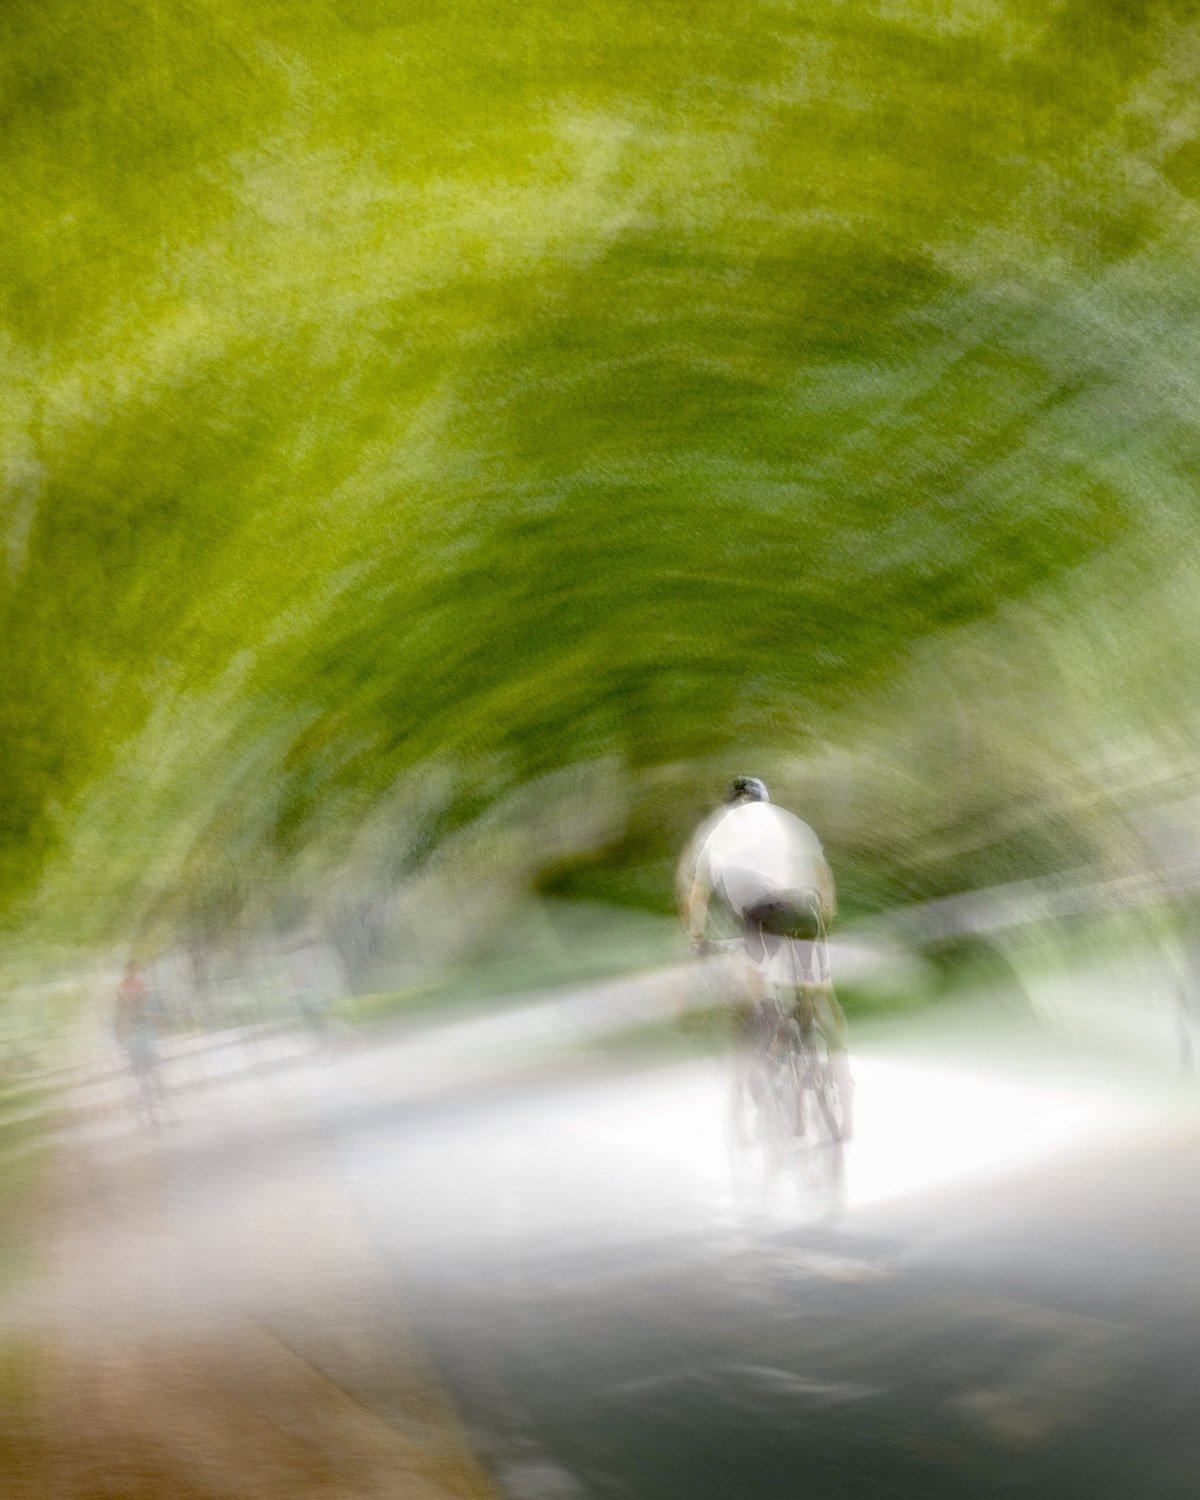
In this first sequence the images depict the initial scene, the settings and the final - saved - result.
Note the blend mode (B) selection, and tracking point placement on key elements in the frame. Also, pay attention to the adjusted exposure time and use of the tracking point frame selection.

A and N mode
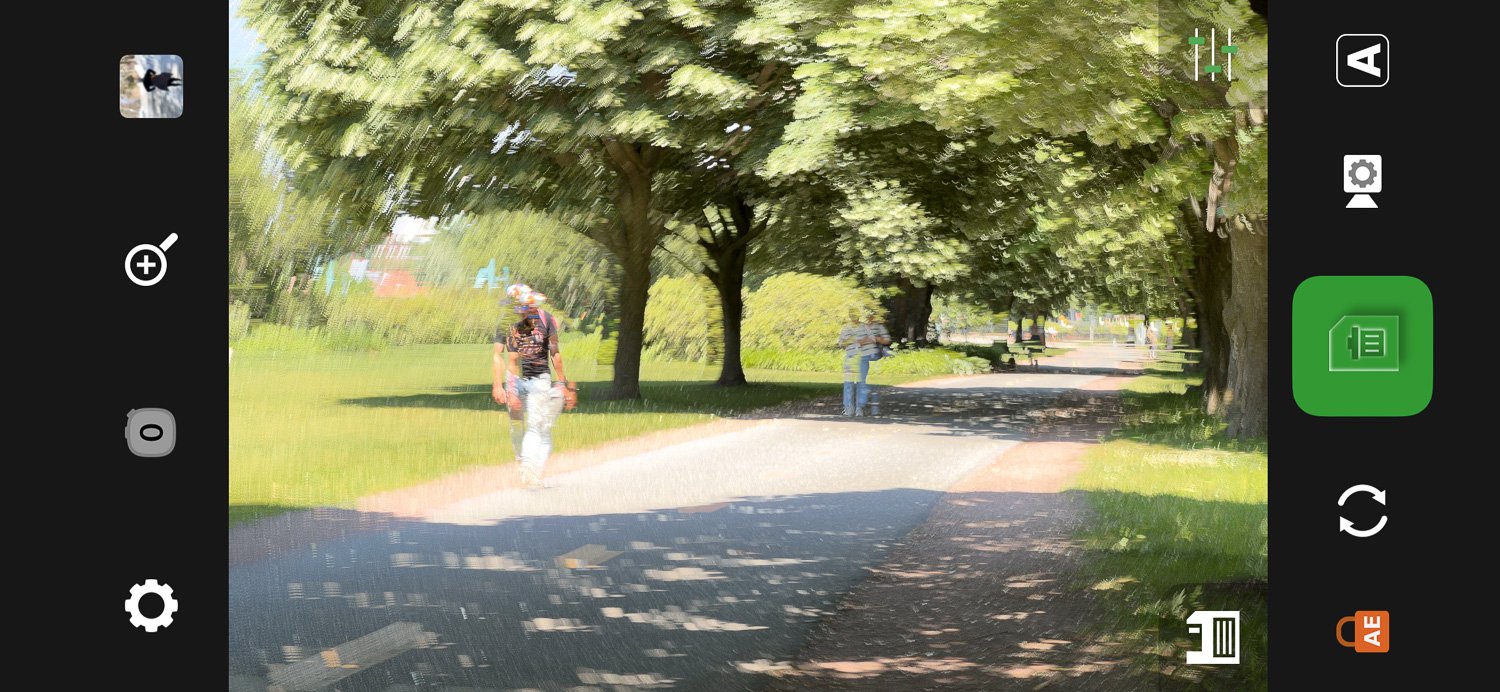
After a desirable B mode outcome was saved I stepped back in the app (using ‘Review’ button) and tested the same stream using both A & N modes. With both of these modes being so sensitive to changes in the scene notice how the exposure has been drastically reduced.
This sequence shows settings for N mode, the final image showing an edited result.

A test of ‘A’ mode proved unsuited to this scene, despite restricting the length of exposure. In this case the movement in the capture was too great, resulting in lighter areas washing out a critical amount of detail.

Examples
The following demonstrates examples of different interpretations of a similar scene, the first series saving images selecting both N and A modes, the second two images varying both blend mode and tracking points.


Final Words
Once understood, Track Afterwards offers an exciting addition to Bluristic's already powerful creative toolbox. The unique ability to adjust settings after capture can prove invaluable when spontaneity is required, while the option to save multiple interpretations provides an added level of flexibility.
I find myself wondering how many others have discovered these benefits and whether they have uncovered creative possibilities of their own.
I'd love to hear about your experiences and see how you're using this feature, so please feel free to get in touch. And for those who have yet to give Track Afterwards a try, I hope this article encourages you to take that first step and explore its potential for yourself.