
A personal summary of ICM techniques
Intentional Camera Movement (more commonly known by ICM) is a photographic technique that remains a mystery to many. I believe this is partly due to ICM being vaguely defined, and I aim to shed some light on it. After studying the work of ICM photographers for some time now I can say that ICM is not a single technique in itself, but a range of techniques where camera movement is a key element to the outcome.
Read on to explore the various methods used today and gain a general understanding of how such results might be achieved.
Techniques
Single exposure ICM
In what may be considered as the ‘doorway into ICM’ this group of techniques produces an image from a single capture, with creative effects introduced by camera movement within the exposure. In all cases exposure are longer than in traditional photography - a typical exposure may start around 1/15th second, but often extending way beyond that.
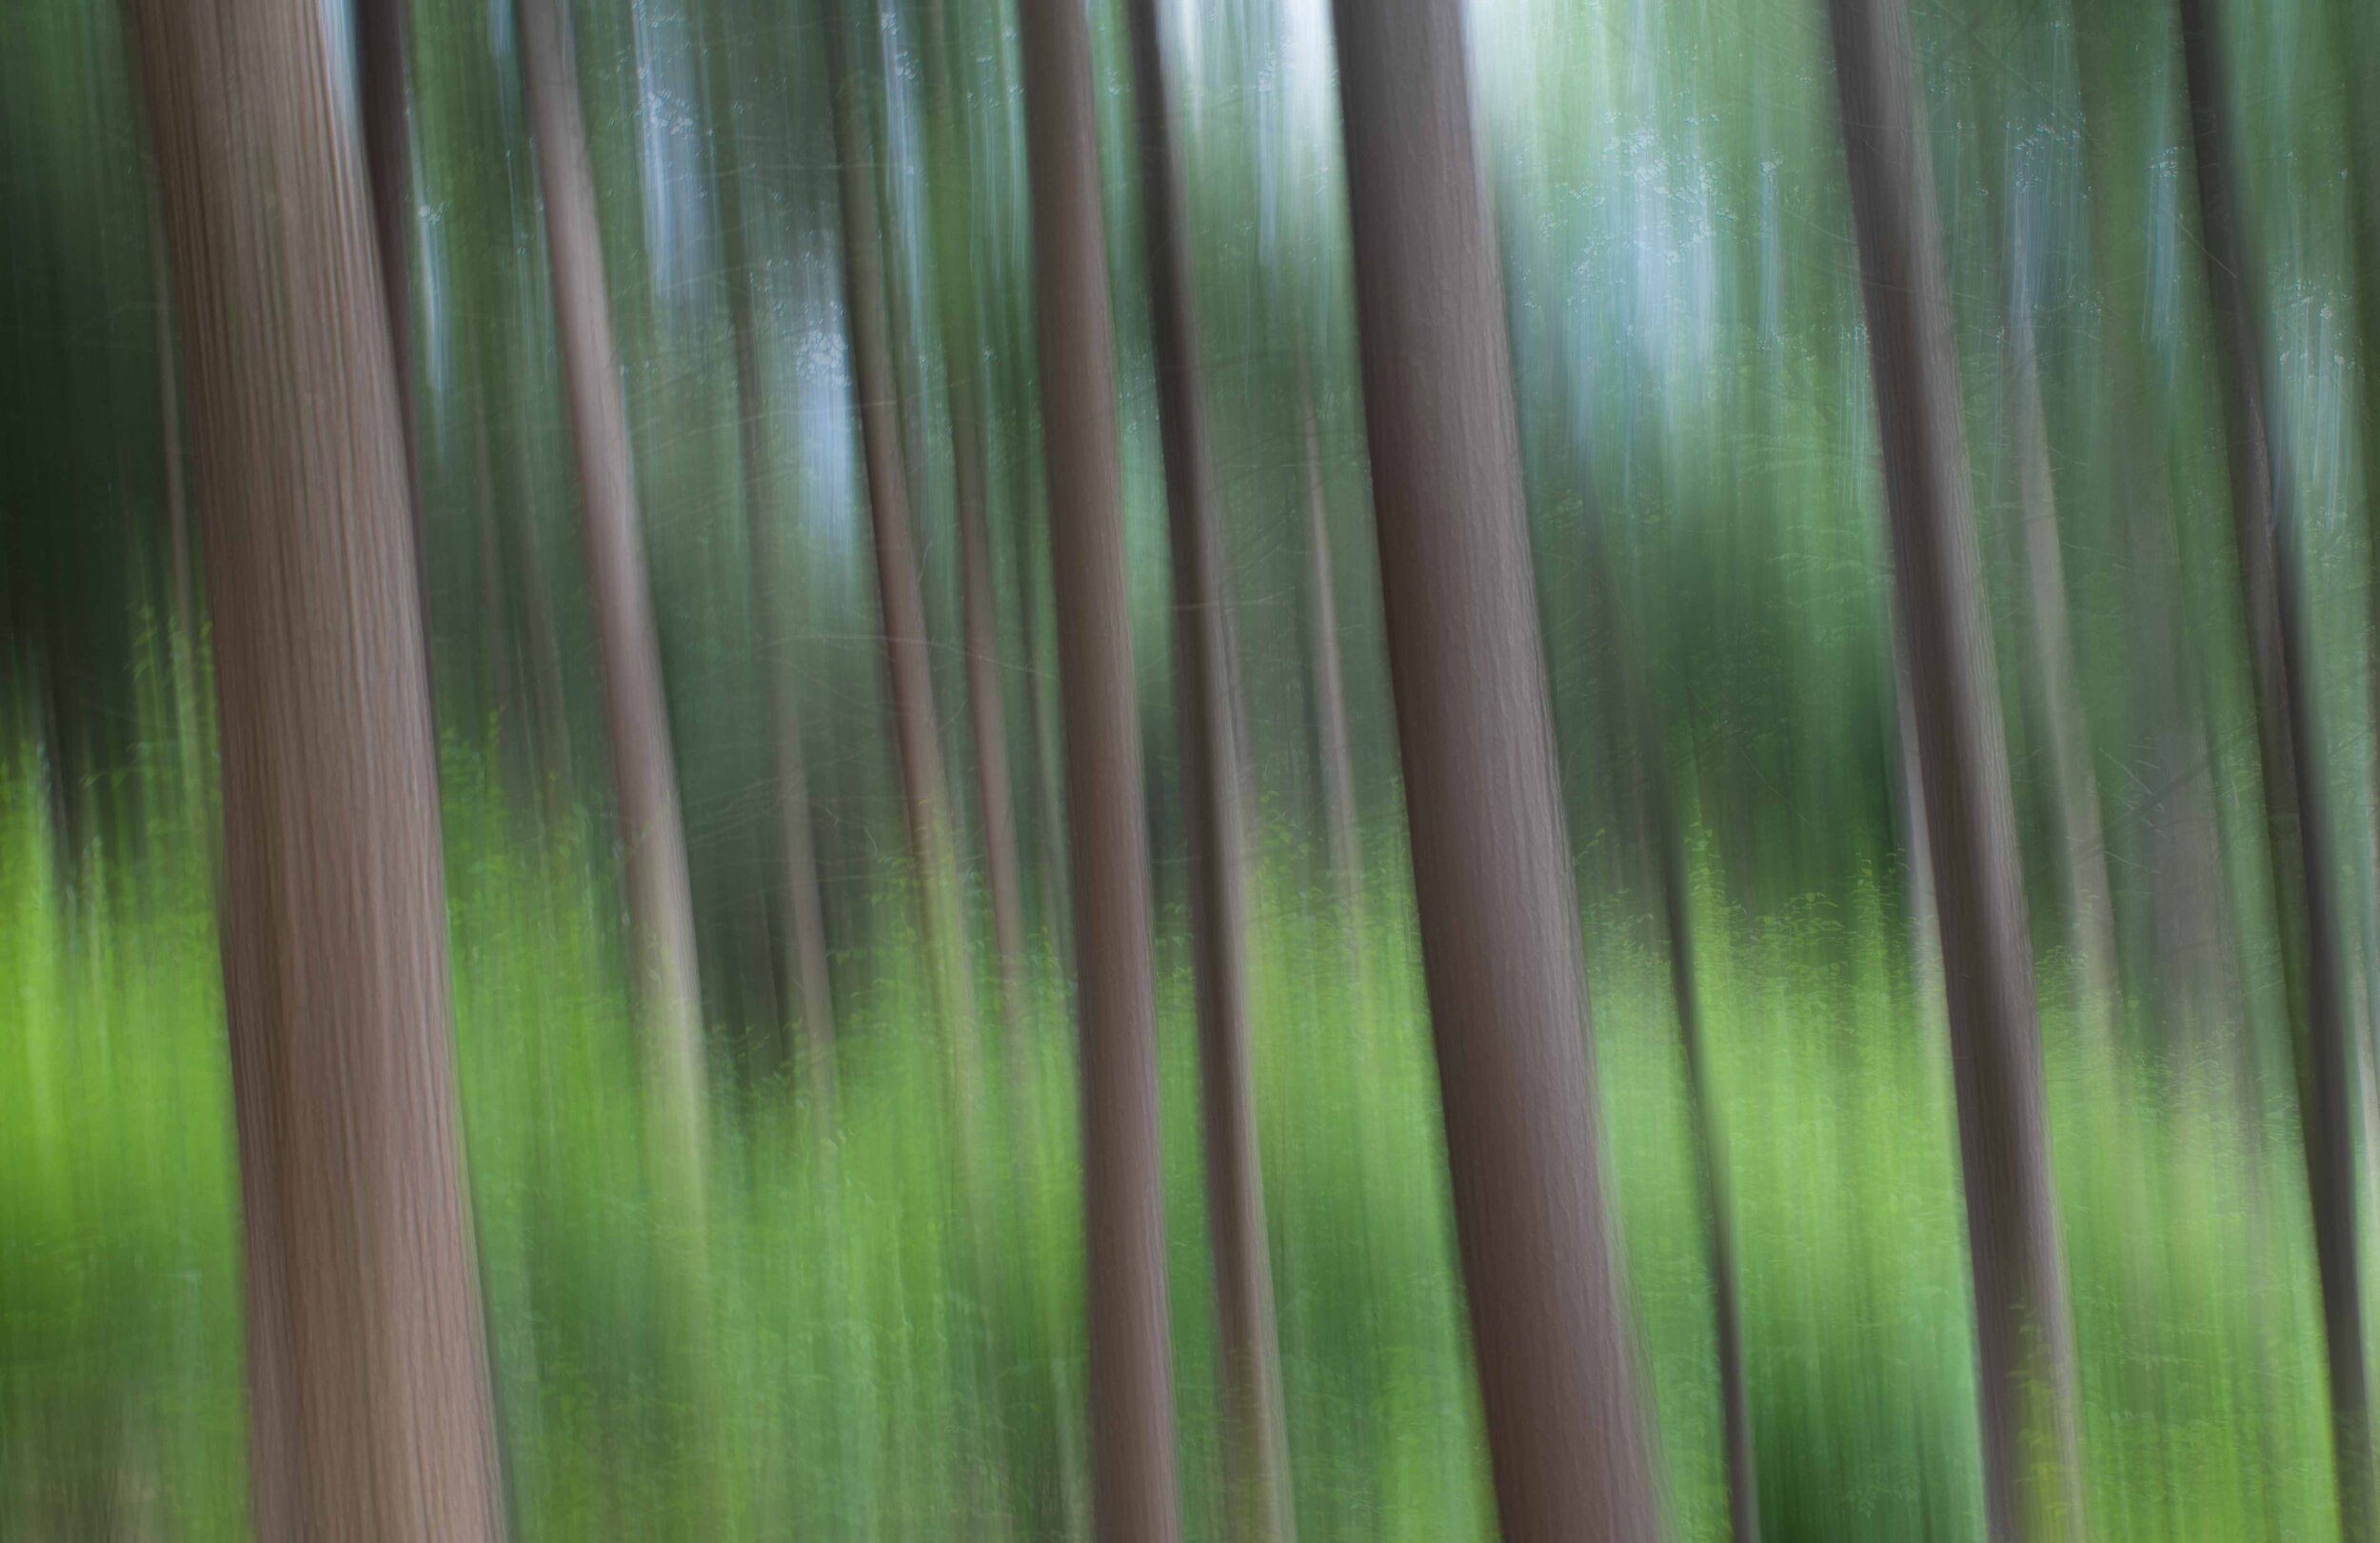
Linear pan
The most basic and perhaps traditional ICM technique (and the one recommended to beginners) is a simple panning motion. This involves moving the camera in a single plane as the shutter is released, to create effects ranging from a simple blur to completely abstract (dependent on both shutter and camera movement speed). This is the technique used for stands of trees (vertical pan) and seascapes (horizontal pan) where the camera movement follows the same plane as the primary subject elements. For inspiration and examples of this technique look no further that the ‘Abstract’ pages of Stephanie Johnson’s website (https://stephjohnphoto.com/), found here.


Complex pan
I define any ICM pan taken outside of a single direction a complex pan. This can be any of (or a combination) of the following;
Path - this is a technique I use often myself, following the lines of strong non-linear elements (eg mountains, streams) to create a ‘flow’ that complements the subject
Circular - rotating the camera during the exposure creates an interesting ‘swirl’ effect
Random - some have great success using random movements (sometimes really wild) as they shoot. As with movements, results tend to vary just as wildly.
Jitter - this technique used a shaking motion during a pan (think of shivering) and produce an extra layer of effect.
Moving camera - I give this technique a name as I am not aware any currently exists. This produces images as a result of the photographer shooting from a moving platform (eg car or train) and focusing on an object as the shutter is released. Examples of this effect can be see by Julieanne Kost’s ‘Passenger Seat’ (https://jkost.net/passenger-seat-1) and Cole Thompson’s ‘Trees from a train’ (https://colethompsonphotography.com/portfolios/series/trees-from-a-train/)

path pan - following contours

circular pan - rotational movement

jitter pan

wavy pan
Zoom pan
Zoom pans require changing the focal length of a zoom lens during exposure. Another interesting effect that can be combined with other pans for a creative result.
Imprints
I named this to cover techniques where the camera focus is held on the subject momentarily to create an imprint on the sensor, typically followed by movement.
Hold - wonderfully creative effects can be created by simply trying to maintain focus on a subject whilst hand holding (try 0.5 - 3 seconds or longer). The naturally unstable movement of the camera (and perhaps subjects in motion) allows for creative effects, amplified by the use of a longer lens
Hold and release - Hold & release is a description I use (for want of a better term) for a more advanced pan technique where the form of the subject is imprinted on the sensor prior to movement. This includes what I feel are the following processes;
Single imprint - the camera is held for a short period as the shutter is released to register the image on the sensor, then panned quickly to create the panning effect. This creates an ICM effect on top of the subject, the balance dictated by the ‘hold’ time, and motion of the pan (release phase).
Multi-imprint - I use this to describe any ‘hold & release’ technique with a goal of registering multiple images on the sensor during a single exposure. Examples of this technique include pausing movement multiple times during exposure to create several ‘imprints’ across the frame, or selecting two distinct areas (the 2nd within or outside the original frame) to create an initial subject overlaid on top of a ‘background’. I have see great examples of this where artists (such as Erik Malm) overlay a strong subject (eg lighthouse) on top of an imprint of the sea, or where a cloudy sky has been ‘brought down’ to provide a textural imprint for a subject. This technique can be difficult to master (as movements have to be somewhat precisely controlled and timed) but is worth experimenting with.
Imprint examples


Multiple exposure ICM (single subject)
Pep Ventosa - ‘In the round’
Pep Ventosa is a Catalan artist best known for his pioneering work on a technique he describes as ‘in-the-round’. Requirements involve taking a large number of images (20 to 40 or more) around a central subject, followed by layering and blending in Photoshop to produce a highly impressionistic result. It is important when using this technique that the subject be somewhat vertical and have a similar outline from all angles. It is not critical that images are captured in an entire 360 degree rotation (I have used 180 degrees to great success) but it is very important that the subject is kept in a consistent position within the frame - this is critical for aligning and overlaying images, although minor adjustments can be made without adverse effect.
With so many images overlaid the overall effect can be modified by the adjustment of layer opacity and blend mode. For my own variation of the technique I like to include the essence of background detail where appropriate to help better convey a story. This is a technique that offers a lot of flexibility and fun during processing, and well worth a try.
Examples utilizing an adaption of the ‘in the round’ technique.
Multi-shot
I think of this technique as one that layers multiple exposures of a single subject. This differs from the ’in-the-round’ technique above as the position of the subject in the frame is not consistent between captures. Here the camera movement between images can provide different angles, size or creative effects . This technique is put to superb use by Andy Gray (www.andrewsgray.photography) - see his YouTube channel for instruction videos. Another artist I greatly admire is Adrian Hernandez Binz (www.hernandezbinz.com), an ICM artist whose inspiration (as with Andy Gray) interestingly stems from the paintings of J.M.W. Turner.
An adaption to this technique has been developed by artists such as Stephanie Johnson. Stephanie leverages ME and blend mode capabilities of her camera to create in-camera multi-exposure images (which she terms ME ICM) with a unique dimension. An introduction to Stephanie’s ME ICM work can be found here.
Mobile ICM
Although not technique in itself, I feel that the ability to capture ICM on a mobile device should not be overlooked. Apps that allow for longer exposures, average over a number of exposures and more open up any photographer to new and exciting creations.
The following show examples created on an iPhone using ProCam and AvgCamPro applications.
Hybrids
Any of the techniques described can be blended to create complex results. I have seen many that successfully combine a traditional ‘sharp’ layer with a second using one of the ICM techniques indicated, or even layering a number of ICM captures to build a final image.
Recommendations
Now that we have covered the range of ICM techniques let me offer the following recommendations based from my own experience
gain inspiration/ideas from ICM images that you admire
start off simple, try the classic panning techniques (vertical for trees, horizontal for seascapes etc)
as detail becomes less relevant in ICM, look for subjects with strong form or contrast (brightness or color).
visualize the result you are hoping to achieve and what different techniques might offer.
experiment (shutter speed, camera movement and speed etc), check after each shot and make adjustments to fine tune
highlights will always dominate darker elements. Bear this in mind when panning to include the sky (panning direction important), or bodies of water that may reflect highlights (can be minimized with polarizer)
purchase an ND filter - this is needed to allow for slow shutter speeds on sunny days. As 6 stop seems to be the one most generally recommended
be prepared to take LOTS of images. Due to the imprecise nature of ICM even the best of the best may shoot 100 attempts or more. Memory cards are cheap, much cheaper than a lost opportunity.
don’t be afraid of failure. By now you should understand that ICM is not an exact science, use your failures as experience, learn from ‘mistakes’ and use any successes or ‘near-misses’ as a springboard for future attempts.
Although ICM results are highly unpredictable they can be fun to shoot, a little thought and practical experience can go a long way in producing highly satisfying results.
So what are you waiting for? Get out there and play!